TL;DR These are our best practices for migrating DNS with no downtime. This blog post expands on our existing support guide for zero-downtime DNS migrations.
Migrating DNS for a site that’s already in production doesn’t have to be terrifying. The key is managing the period of time between when your DNS records point to your old host and when they point to Netlify. In this article, we’ll walk you through the steps to do that, so you can ensure a smooth migration with no downtime. The headings of this article make up your new site migration checklist, and we’ll elaborate on each step below. We recommend fully reading through before getting started; ideally, you will start assembling the pieces several weeks before your go-live date.
Before go-live day:
- Check which hostnames and which sites will be migrated
- Check that nothing will block Let’s Encrypt from issuing an SSL certificate for your hostname
- Check TTL of all hostnames
- Get a custom certificate for no downtime
- Test the custom certificate before switching DNS records
On go-live day:
- Update DNS records to point to Netlify
- Once the migration is complete, get a Let’s Encrypt SSL certificate from us
Check which hostnames and which sites will be migrated
Make a note of which hostnames you’ll be migrating, including the bare domain—like example.com—and any subdomains—like api.example.com and www.example.com.
Further down the checklist, you’ll have to get a custom SSL certificate, and you’ll want to make sure that your certificate will cover every hostname you’ll be migrating.
You can assign your domain to your Netlify site at this point or wait until later in the process. Don’t worry, this doesn’t mean that we’ll start serving traffic to your site. Your DNS still doesn’t point to Netlify, so the hostname is more of a placeholder and will also let you test your custom certificate later on.
If you want to be extra thorough, we’d recommend doing a run-through of this checklist where you set a test hostname that’s covered by your custom certificate, like test.example.com. That way, you won’t encounter any surprises when you do the process again with your production hostnames.
Check that nothing will block Let’s Encrypt from issuing an SSL certificate for your hostname
Some companies, organizations, and universities set CAA or SOA records on their hostnames that specify which SSL certificate authorities can issue certificates. You’ll need to check that your hostname either doesn’t have these records at all, or that Let’s Encrypt is listed as an acceptable certificate issuing authority. Otherwise, we won’t be able to issue you an SSL certificate.
host -t caa example.comhost -t soa example.comCheck TTL of all hostnames
For each hostname you’re migrating, you’ll want to check the time to live (TTL) of that hostname’s DNS records. You can find this value either using your terminal or Google’s online dig tool.
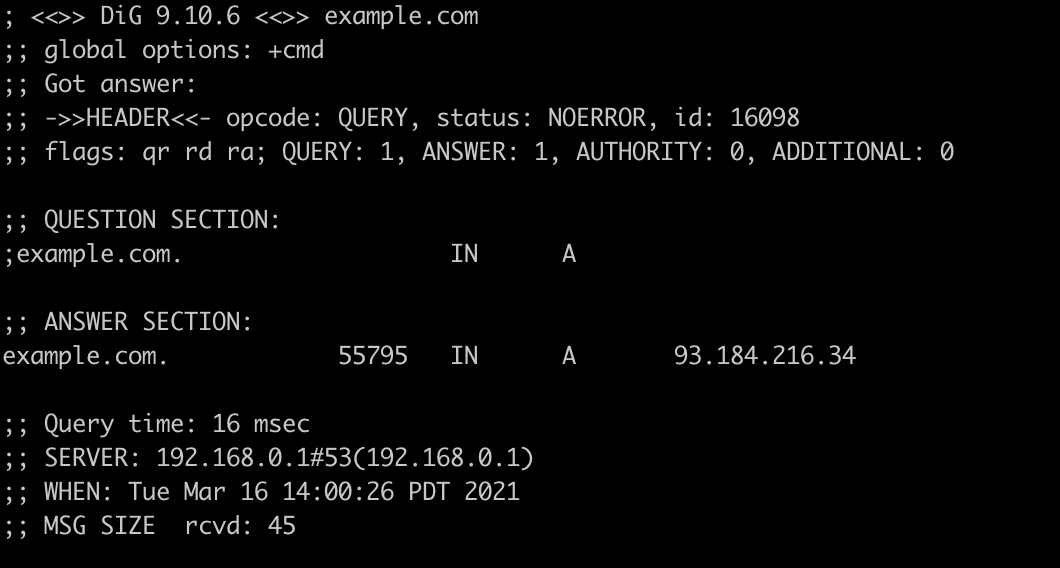
dig example.comdig www.example.comWe’re interested in the ANSWER SECTION of the dig output. The number after the domain name is the record’s TTL in seconds.

The TTL is the amount of time that a given DNS record is kept in DNS cache before it is re-requested. A TTL of 3600 means that the record will not be re-requested for 3600 seconds, or 1 hour. Ahead of the migration, you want to set a low TTL so that DNS will request your new DNS records—the ones pointing to Netlify—in as short a time as possible, and, at the same time, purge the old DNS records—the ones pointing to your old site host—from the DNS cache. Our step-by-step support guide has more information on this piece of the process.
Get a custom certificate for no downtime
We can only get you a Let’s Encrypt SSL certificate once your DNS is correctly configured and pointing to Netlify. Once you configure the DNS records, the best case is that your old records expire according to their TTL, and your new records then propagate to replace them. Because there are multiple caches (like the browser’s DNS cache) along the way, however, DNS propagation can sometimes take several hours. During this interim period, we will not yet be able to automatically get you an SSL certificate.
That’s why we recommend bringing your own custom certificate for site migrations: you can set up the certificate to cover the site before DNS is fully propagated, or before you’ve made any DNS changes at all, so that your site will remain accessible during the propagation period. Without a custom certificate in place, visitors to your site will encounter a security warning in the browser until we are able to provision the Let’s Encrypt certificate.
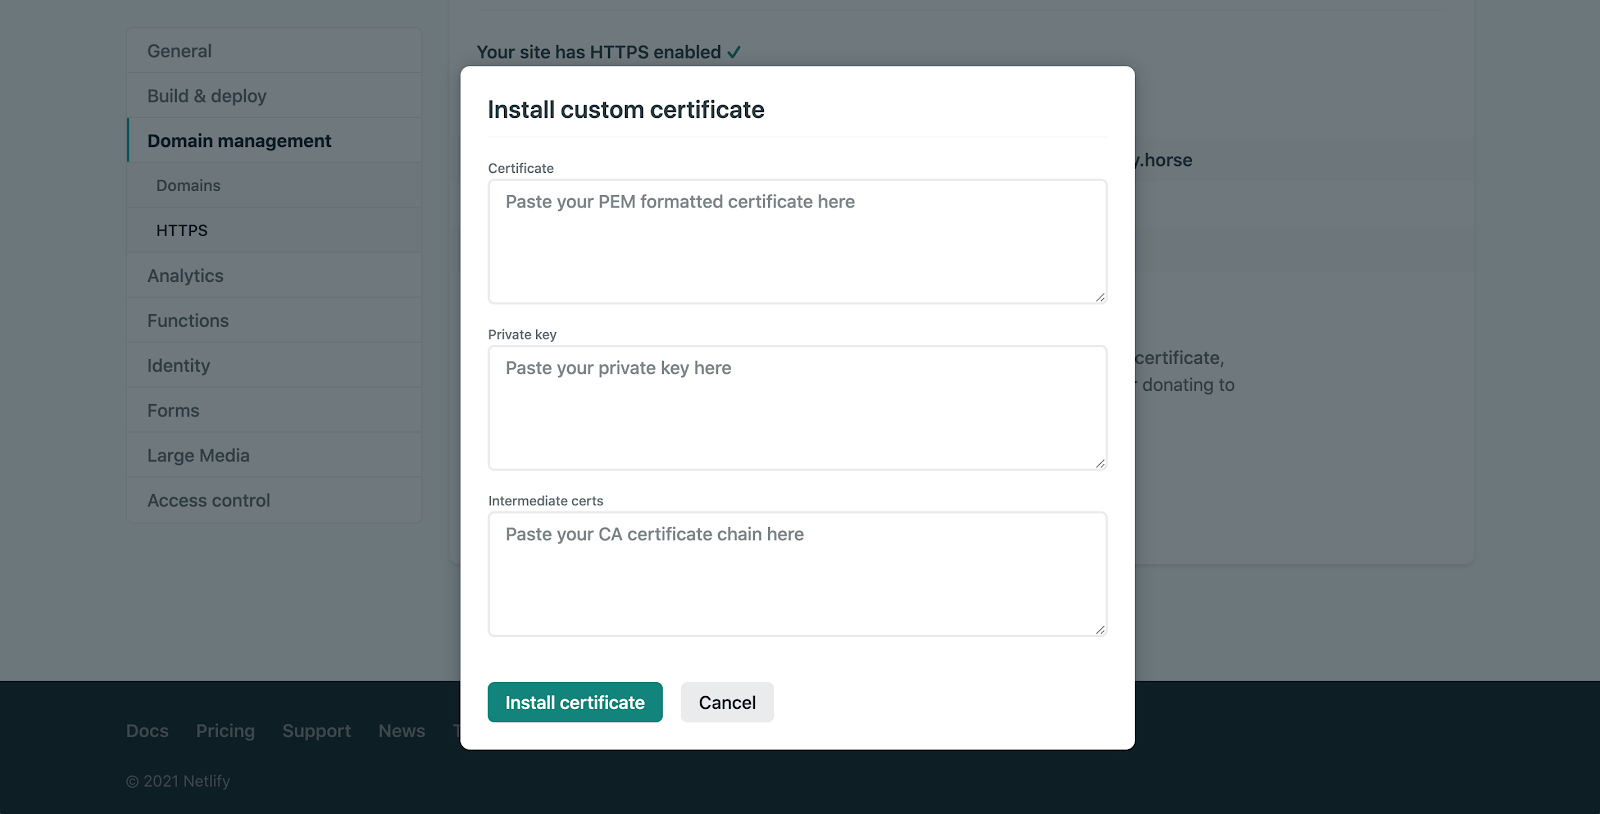
Where does one get a custom certificate, you ask? There are many vendors to choose from including DigiCert and Comodo. Regardless of which vendor you use, you will need to generate a certificate signing request (CSR) for your custom certificate. DigiCert has this helpful resource for generating a CSR locally, or there are several online tools like https://decoder.link/csr_generator. Our docs explain the specific files you’ll need to copy/paste on the Netlify side: a PEM formatted certificate, a private key, and a CA certificate chain.

Test the custom certificate before switching DNS records
Once you’ve uploaded your custom certificate, but before you’ve updated DNS records, you’ll want to test that the certificate works. You can do this by using curl to force web requests to resolve to your custom domain as if it were already served by Netlify—so, as if you had updated DNS records, even though you haven’t actually updated them yet:
curl https://www.example.com --connect-to www.example.com:443:104.198.14.52
curl https://example.com --connect-to example.com:443:104.198.14.52
Or for older versions of curl:
curl https://www.example.com --resolve www.example.com:443:104.198.14.52
curl https://example.com --resolve example.com:443:104.198.14.52
You’re looking for a 200 response, the body of the page you requested, and no SSL errors. If you can only curl by ignoring SSL errors with curl -k https://… after uploading your certificate, something is wrong and you’ll want to repair it before moving to the next step.
Update DNS records to point to Netlify
When you’ve confirmed that your custom SSL certificate is correctly installed, it’s time to update your DNS records to point to Netlify. Remember the TTLs you looked at earlier in this process? You’ll need those again now. Make a note of them, then adjust the TTLs down to 10, and wait for the original TTL to pass. Once the original TTL has passed, your DNS records have the new TTL of 10, so it’s time to update the A record and CNAME values:
- A record pointing your bare domain to our load balancer, 75.2.60.5
- CNAME record pointing www to your *.netlify.app Netlify URL, i.e. brave-curie-12345.netlify.app
If you are an enterprise customer hosting on the High-Performance Edge, you will have different A and CNAME records than the ones described above. Your accounts team will share those details with you.
Your DNS migration should be complete once 10 seconds pass. You can confirm with host:
host -t a example.com
example.com has address 104.198.14.52
host -t cname www.example.com
www.example.com is an alias for brave-curie-12345.netlify.appOnce you’ve confirmed, it’s time to crank the TTLs on your records back up to their original values, so visitors to your site can benefit from getting your DNS destination from cache instead of requesting it again every 10 seconds.
Once the migration is complete, get a Let’s Encrypt SSL certificate from us
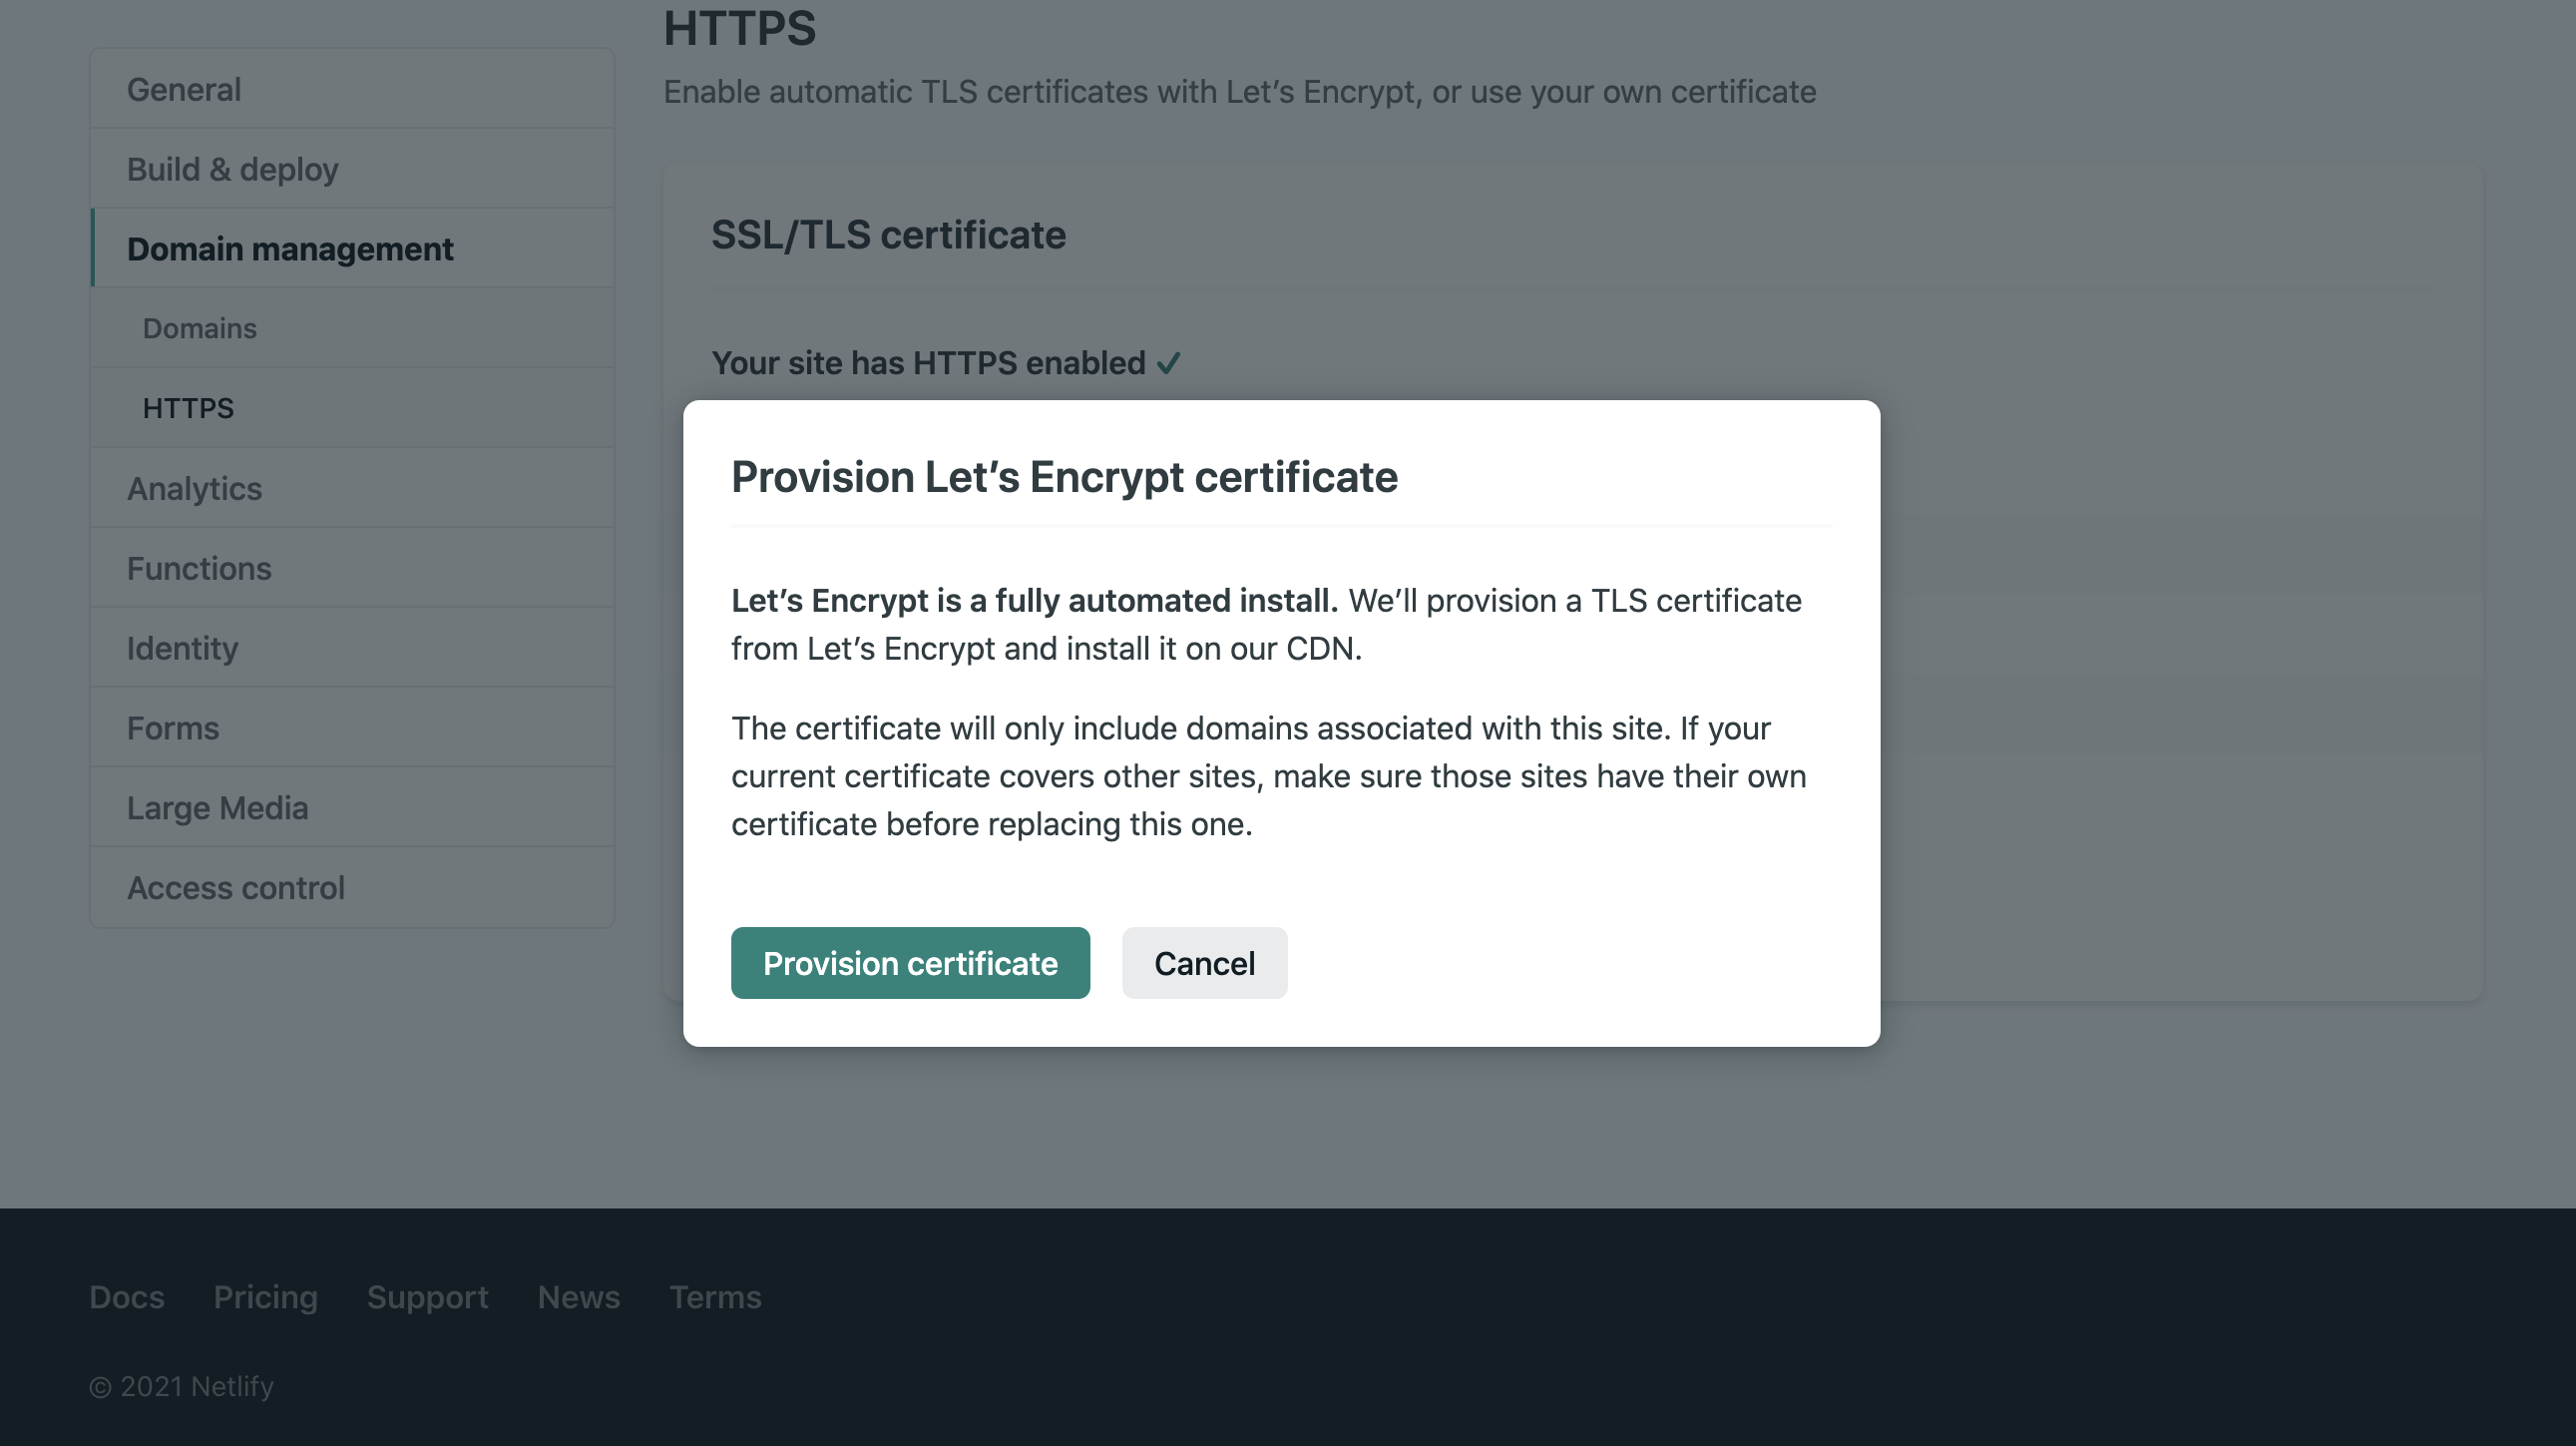
Now you’re in the home stretch! The only thing left to do is swap out your custom SSL certificate. You can switch to the Let’s Encrypt certificate within your site dashboard, which we’ll now be able to provision for you and then automatically renew every three months going forward. There will be no interruption of service when the one SSL certificate replaces the other.

Whew, you did it! Thanks for following along. If you’ve got more questions about live site migrations, please reach out in the Netlify Forum.


