We’ve got a brand new Nhost starter template for you! 🎉
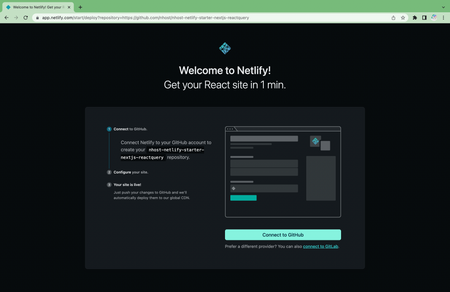
Like what you see? You can check out the code and clone the project here: https://github.com/nhost/nhost-netlify-starter-nextjs-reactquery or click the button below to step through the process of creating a new repo, new Netlify project, and deploy it (you will need to add Nhost env vars to get full functionality).
For a full step-by-step tutorial, check out this YouTube video:
Deploy the Next App with Netlify
With this setup I’ll guide you through deploying this Next app with Netlify and nhost. No credit card needed for any of the steps! We’re going to start from the point of clicking the Deploy to Netlify button above, but you could also:
- clone the repo listed above into your own repo
- create a new Netlify project and connect it to your repo

However, by using the Deploy to Netlify button you will now have
- a repo with all the project files and
- a deployed Netlify project linked to the new repo
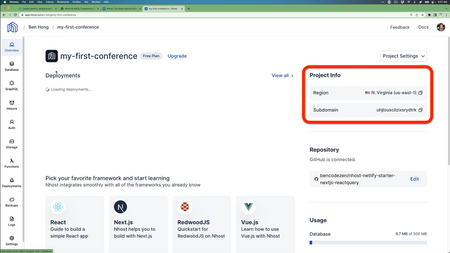
To get the full functionality of the app, you’ll need to create a new project with nhost and add two environment variables to your Netlify project via your dashboard under Site Settings > Build & deploy > Environment.
NEXT_PUBLIC_NHOST_SUBDOMAIN- Example: us-east-1NEXT_PUBLIC_NHOST_REGION- Example: uhjouscilzxsrydrk
You can find these in the upper right of your nhost project dashboard under “Project Info”:

Once you’ve got those environment variables saved in Netlify, you just need to trigger a new deploy and everything will work as expected!
Next Steps
And with that, you’re off to the races and ready to develop your Next.js site with Netlify and nhost. As a reminder, if you need step-by-step instruction, be sure to check out the YouTube video we recorded!
A big thanks to the nhost team for helping to bring this to life. Looking forward to seeing what you all build with this new tech stack!


