Environment variables are handy for storing project configuration details to reference in your code. Variables can help protect sensitive values — like API tokens — that are not appropriate to check into your Git repository.
As your project grows, so do the number of variables you’ll need to manage. With Netlify, you can move your environment variables in bulk between all your team’s critical platforms, as well as between sites hosted on our platform. This means you can focus on what really matters, instead of wasting time on tedious config tasks like copying and pasting sensitive information from one platform to another or updating the same values across multiple sites.
Export and import variables as .env
Netlify UI
We recently added new functions for importing/exporting variables in .env format from the Netlify UI. These make it easier to move environment variables around in bulk, even if you need them to honor contextual variable values.
Export variables as .env

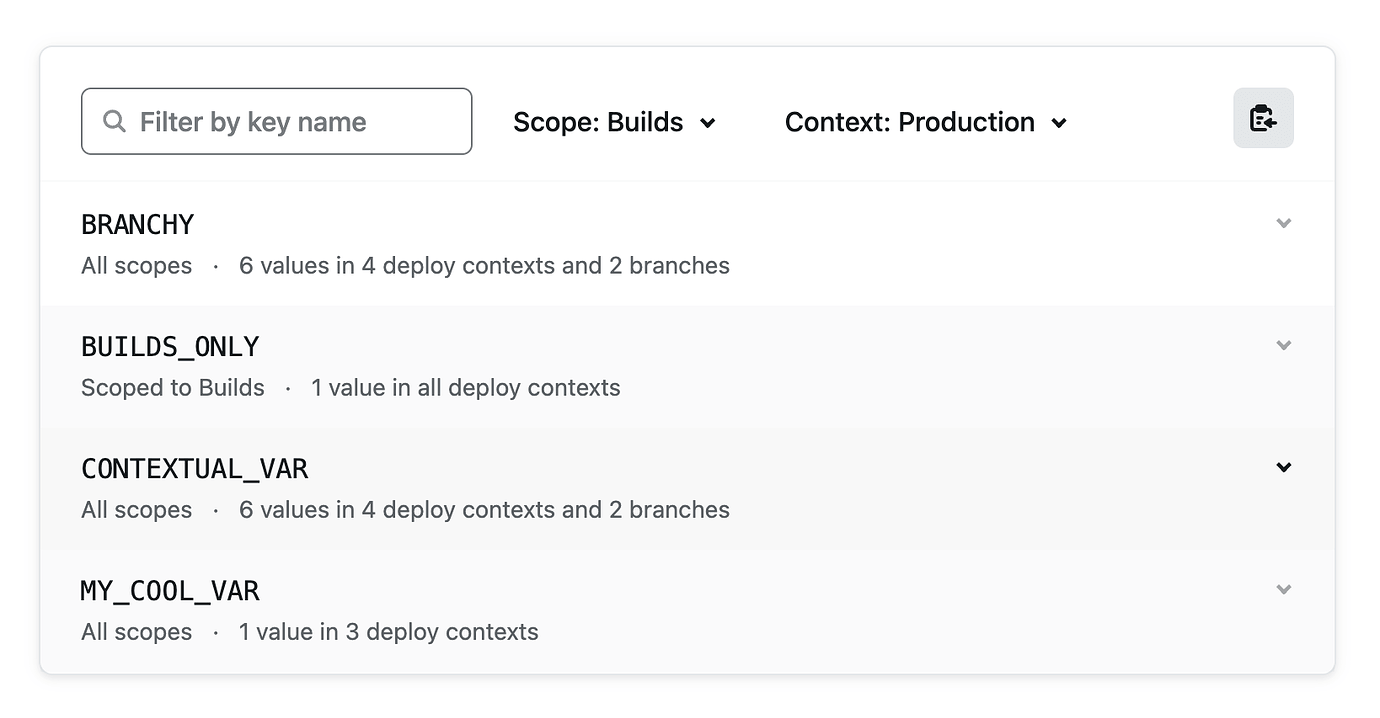
To get a list of environment variables in .env format, go to Site Settings > Environment Variables or Teams Settings > Environment Variables and:
- Use the “Scope” and “Deploy Context” filters to refine your variables to a specific deploy context and/or scope.
- Press the clipboard button to copy these variables in
.envformat. This includes some code comments, so you know what you exported. Here’s an example:
# Site environment variables for your-site# Context: production# Scope: builds# Date: 12/16/2022, 12:00:00 AMYou can now paste the list on your clipboard into any .env file.
Import variables as .env
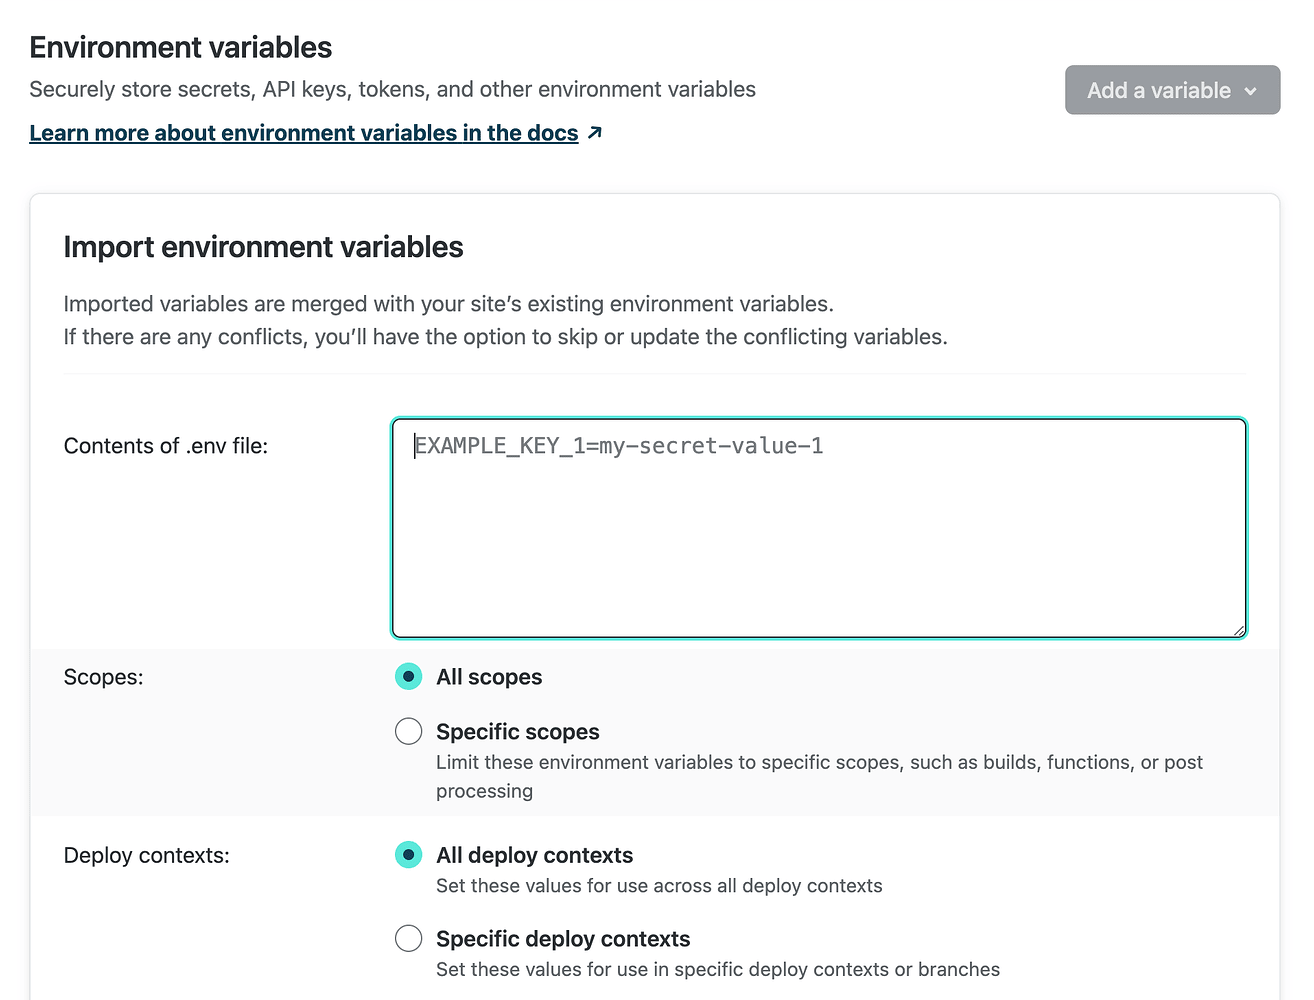
You can then import this or another .env file to a Netlify site. Choose “Import from a .env file” on Site Settings > Environment Variables or Team Settings > Environment Variables:

Paste in your .env contents (KEY=value format), and choose which scopes and deploy contexts you’d like these values available to:

If you included # Scope: and # Context: comments in “Contents of .env file” (these are included automatically on export!), we will automatically set the imported variables to the matching scope and deploy context.
You can then choose how to handle any conflicts:

Alternatively, you can use the Netlify CLI
If the command line is your jam, you can bulk manage variables using netlify env commands on the Netlify CLI. In any directory linked to a Netlify site, you can:
- Run
netlify env:list --plainto export a list of that site’s env vars. You can then copy the formatted list into an.envfile. Use the —context flag to output values from a specific context. By default, the local development values are returned. - Run
netlify env:importwith the name of your.envfile. The--replace-existingflag should be used with caution, as any existing variables on the site will be removed.
Copy variables between sites
Another neat trick on the Netlify CLI is the netlify env:clone command. You can copy all variables from one site on your team to another using:
netlify env:clone --to <to-site-id> --from <from-site-id>Shared variables across all your sites
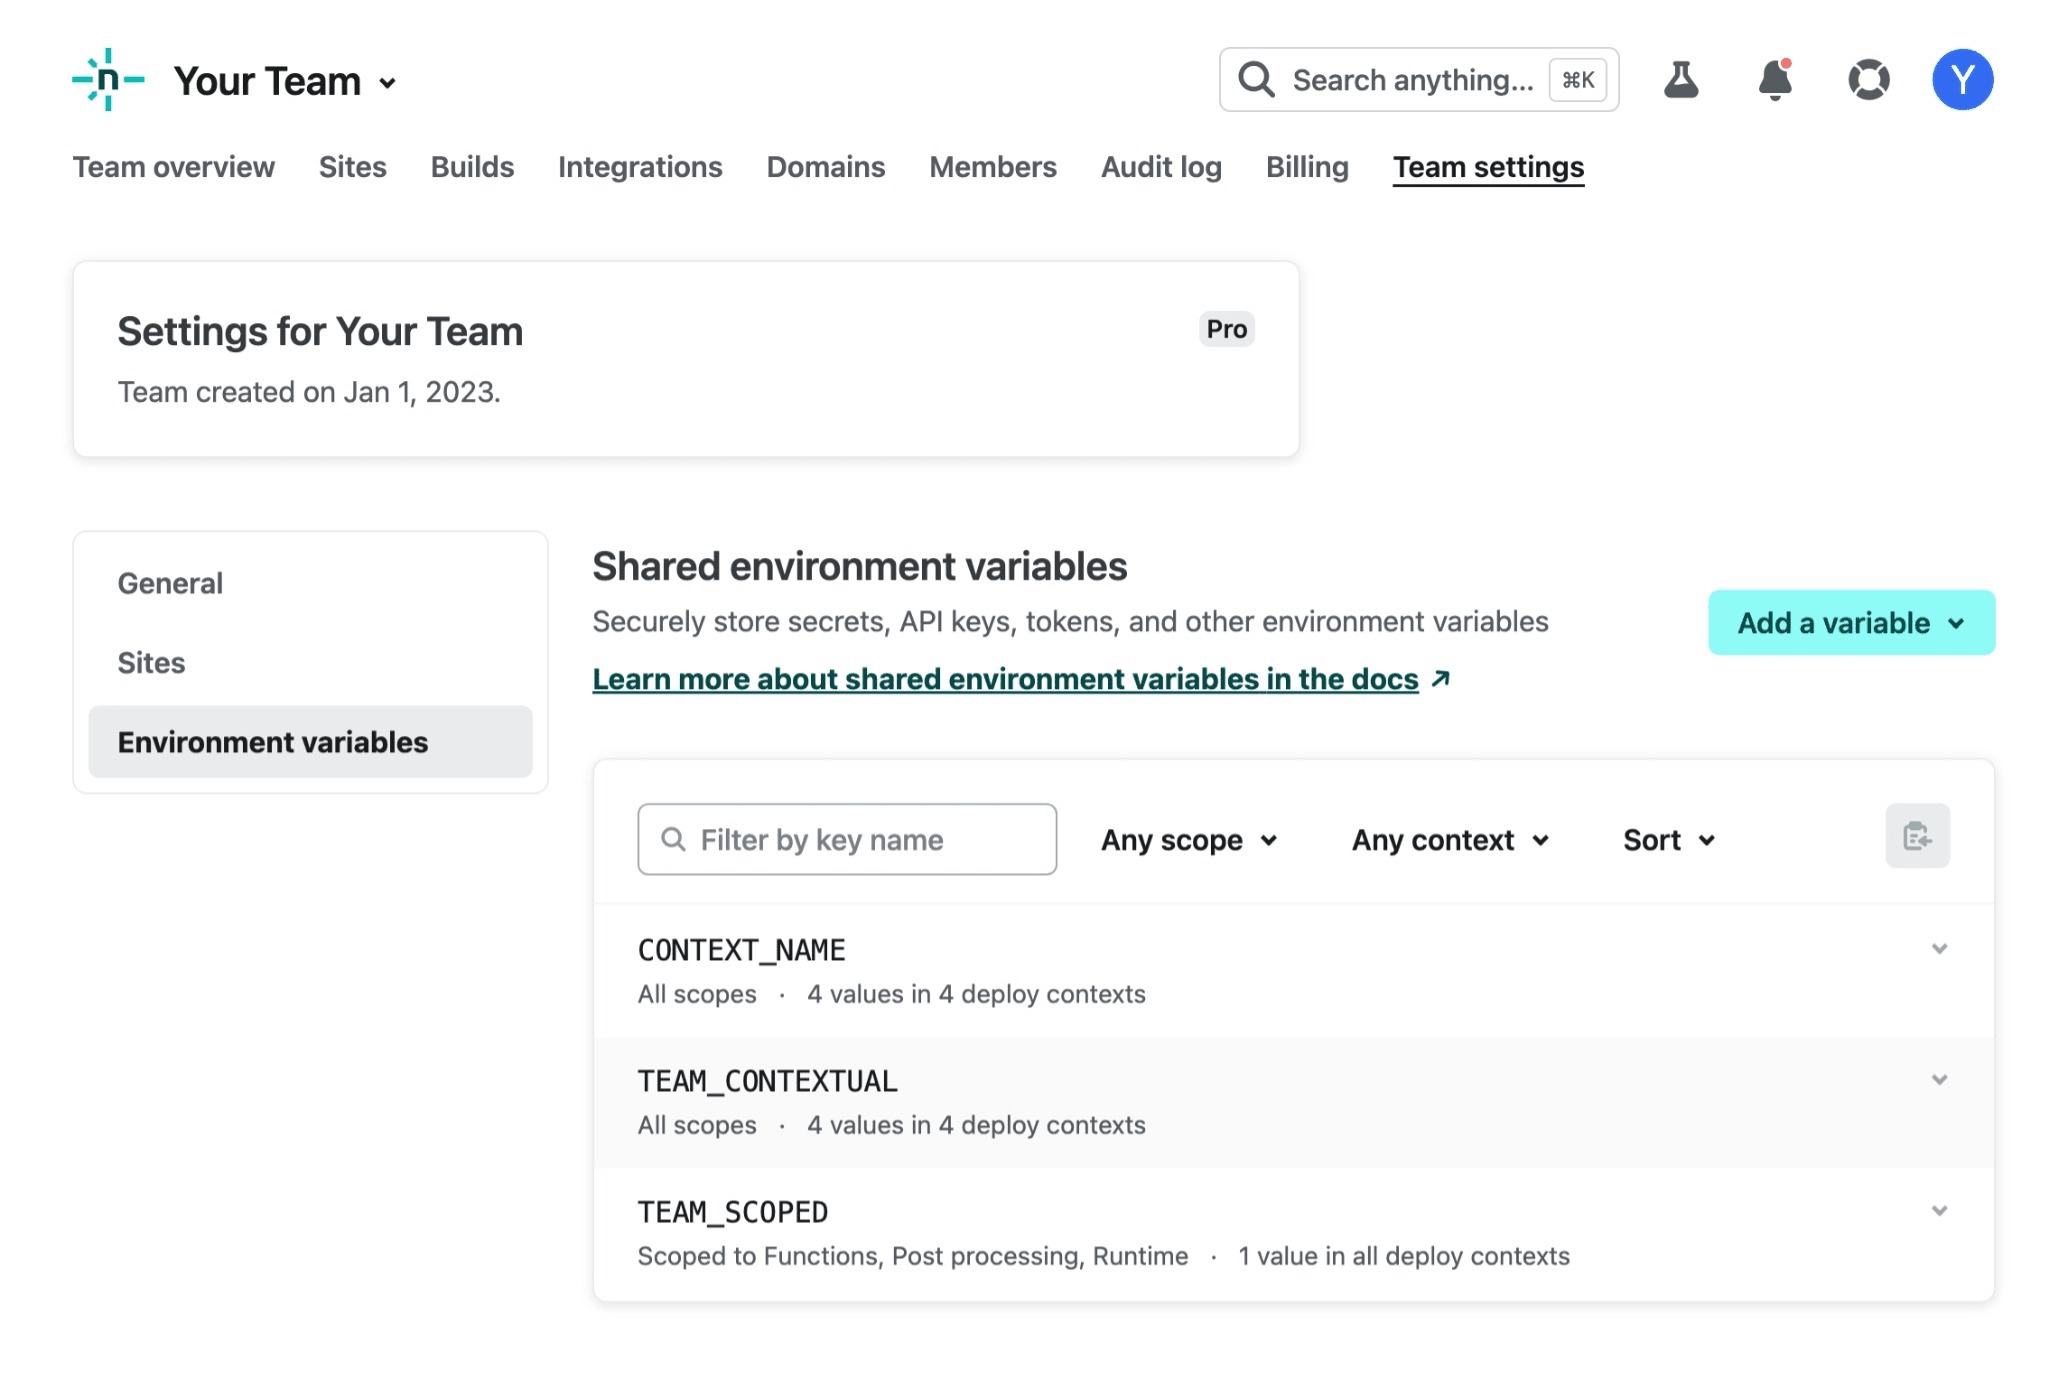
There may be some variables you’ll want to use across all sites in your Netlify team. Owners on Pro accounts and above can set shared environment variables at Team Settings > Environment Variables:

Any variables set here will be available on all sites within the team. Note: today these keys and values are only visible in the Netlify UI/CLI to Owners.
If you need to override the value on a particular site, you can set the same key with a different value at Site Settings > Environment Variables. This will override the team-level value(s).
Your own flow using the Netlify API
Have a more complex use case, or want to make bulk management a little more programmatic? You can use Environment variables endpoints on the Netlify API to work with environment variables according to your unique workflow.
Try it out
Try importing/exporting bulk environment variables on Netlify and let us know what you think. You can share feedback on these and other features in the Netlify forums. We always appreciate hearing your thoughts!


