There are a number of ways to deploy sites to Netlify: drag and drop, push to a git provider, or deploy via API. The API is useful if you need more control over the deploy process, whether you’re building integrations or automating workflows that connect with other systems. This post walks through a simple API deploy, so you’ll have the building blocks you need to deploy bigger sites, make use of other API endpoints, or build out more complex deploy pipelines.
What you’ll need:
- A simple site to experiment with. In this demo, we’ll use the example site from this repository: https://github.com/netlify/api-deploy-demo
- A personal access token
- Postman
Setup
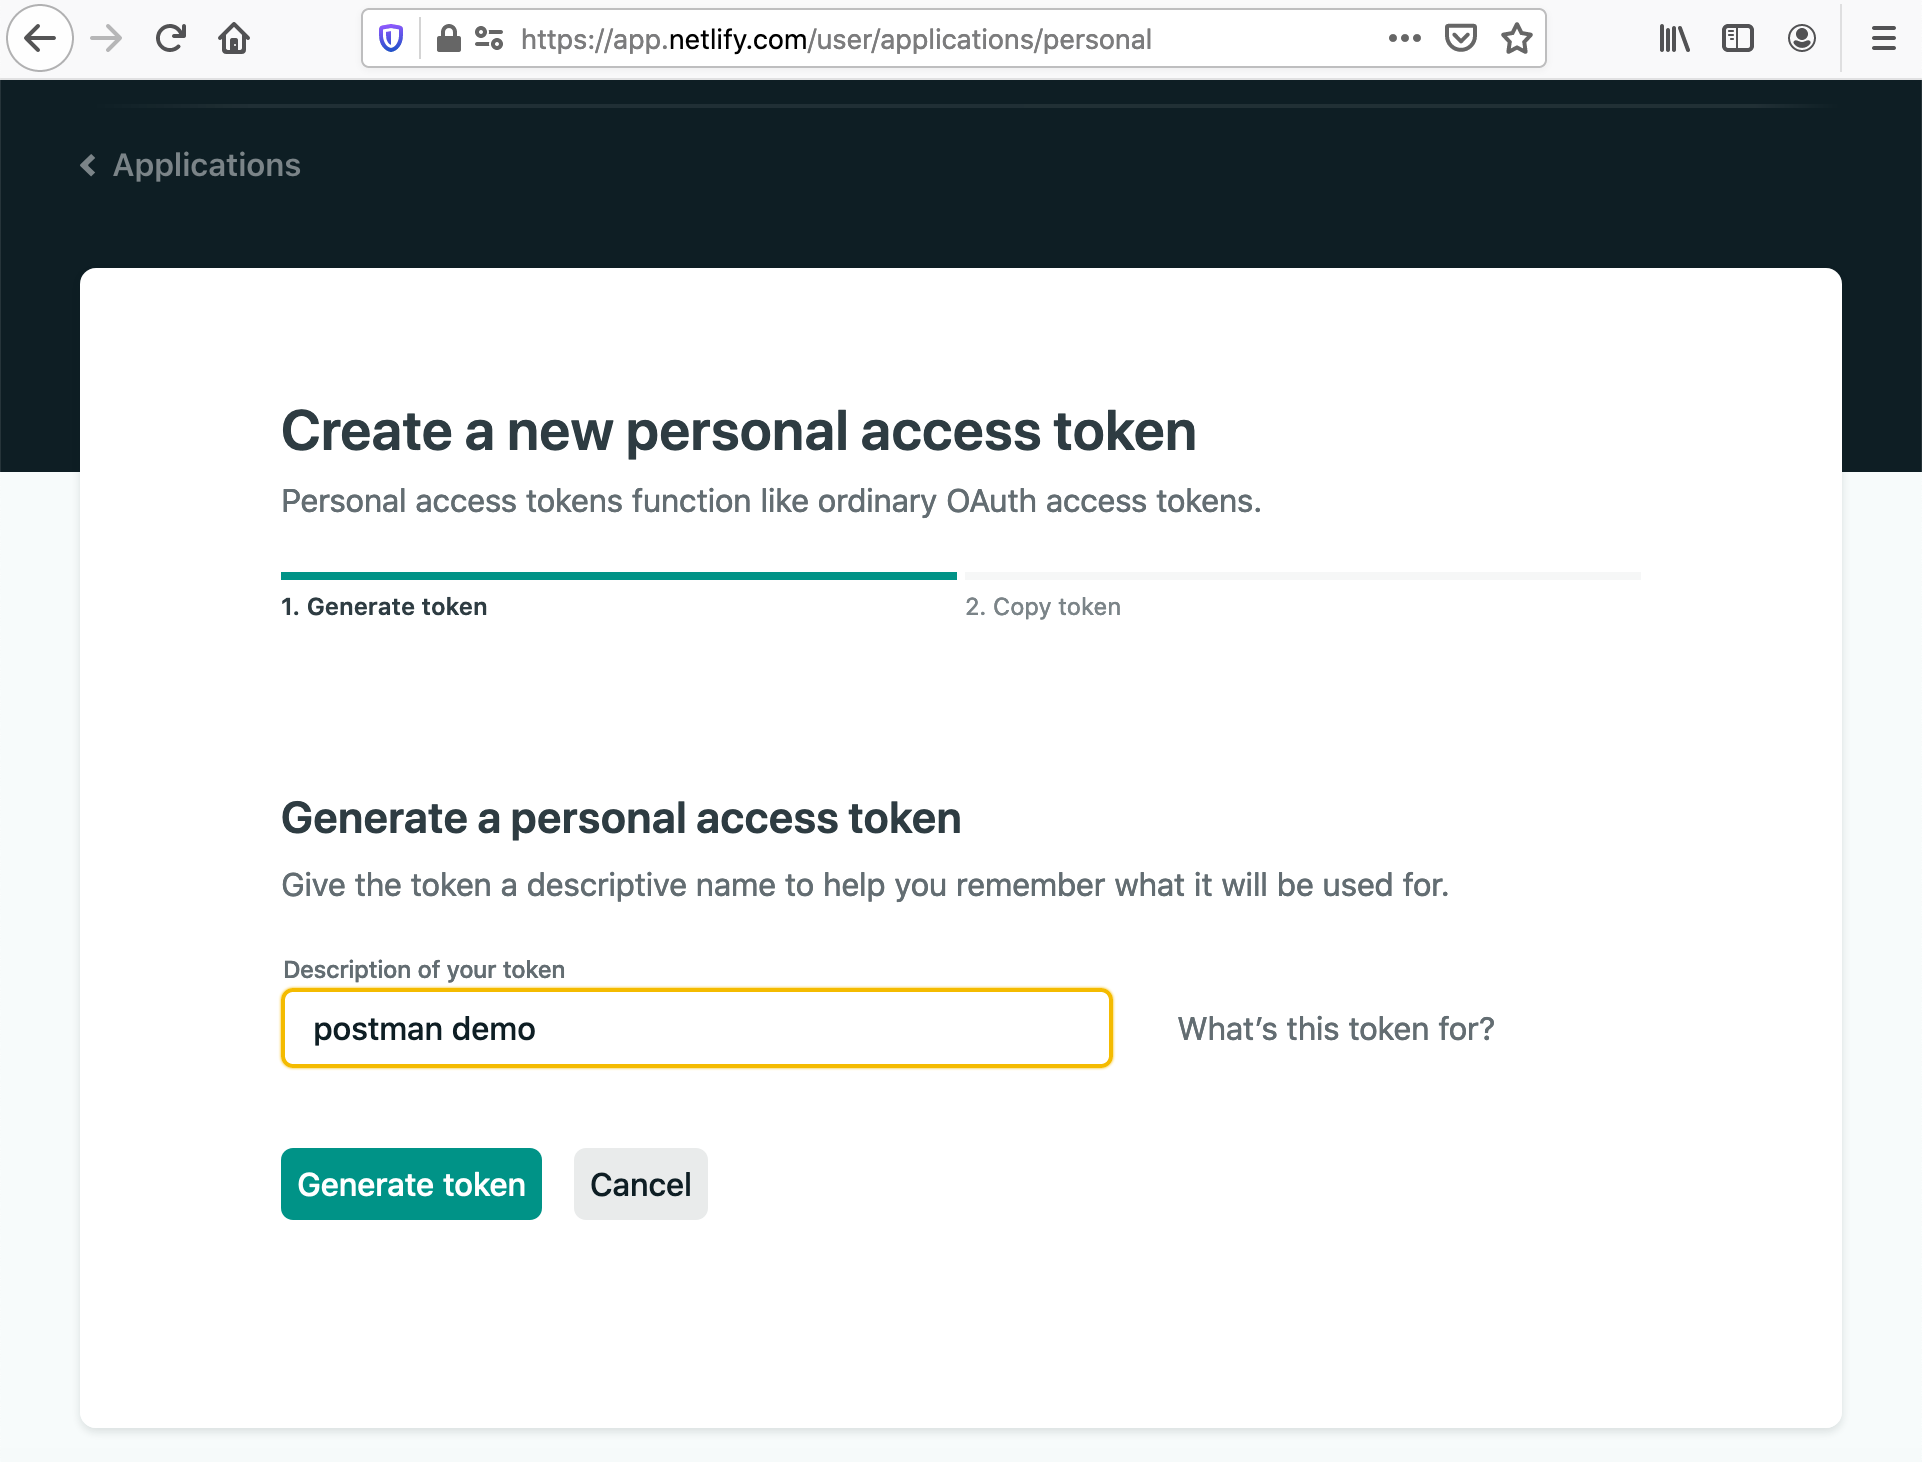
- Log in to your Netlify account and get a personal access token from
https://app.netlify.com/user/applications. We’ll only show it on the screen once, and it grants access to all the things on your Netlify account, so be sure to store it in a safe place.
- Clone the repository and
cdinto it.
$ git clone git@github.com:netlify/api-deploy-demo.git
$ cd netlify-api-deploy- Let’s review the contents with
ls:
$ ls
first.html index.html second.html third.html- Next, we need a
shasumfor each file. A shasum is a unique identifier for each file, calculated from the contents of that file. We’ll need these for our deploy via Postman:
$ shasum index.html
bbc833bfbb64ec792f262d940fe27ebaebae01a4  index.html
$ shasum first.html
c5045de396718f8bed7d275a5db66889f8ba8fcb  first.html
$ shasum second.html
60a485665b50c25c0ac83b23417ac588421c6bb6  second.html
$ shasum third.html
9b780b93bf552555404bc5b13951fa568a005904 third.html- Now that we have each file, a shasum for each file, and our personal access token to authenticate with Netlify, we’re ready to set up Postman.
Using Postman to make requests
There are tons of ways to explore the Netlify API: our Javascript client, our Go client, curl, Hoppscotch (formerly Postwoman). In this demo, we’ll be using Postman to make our HTTP requests.
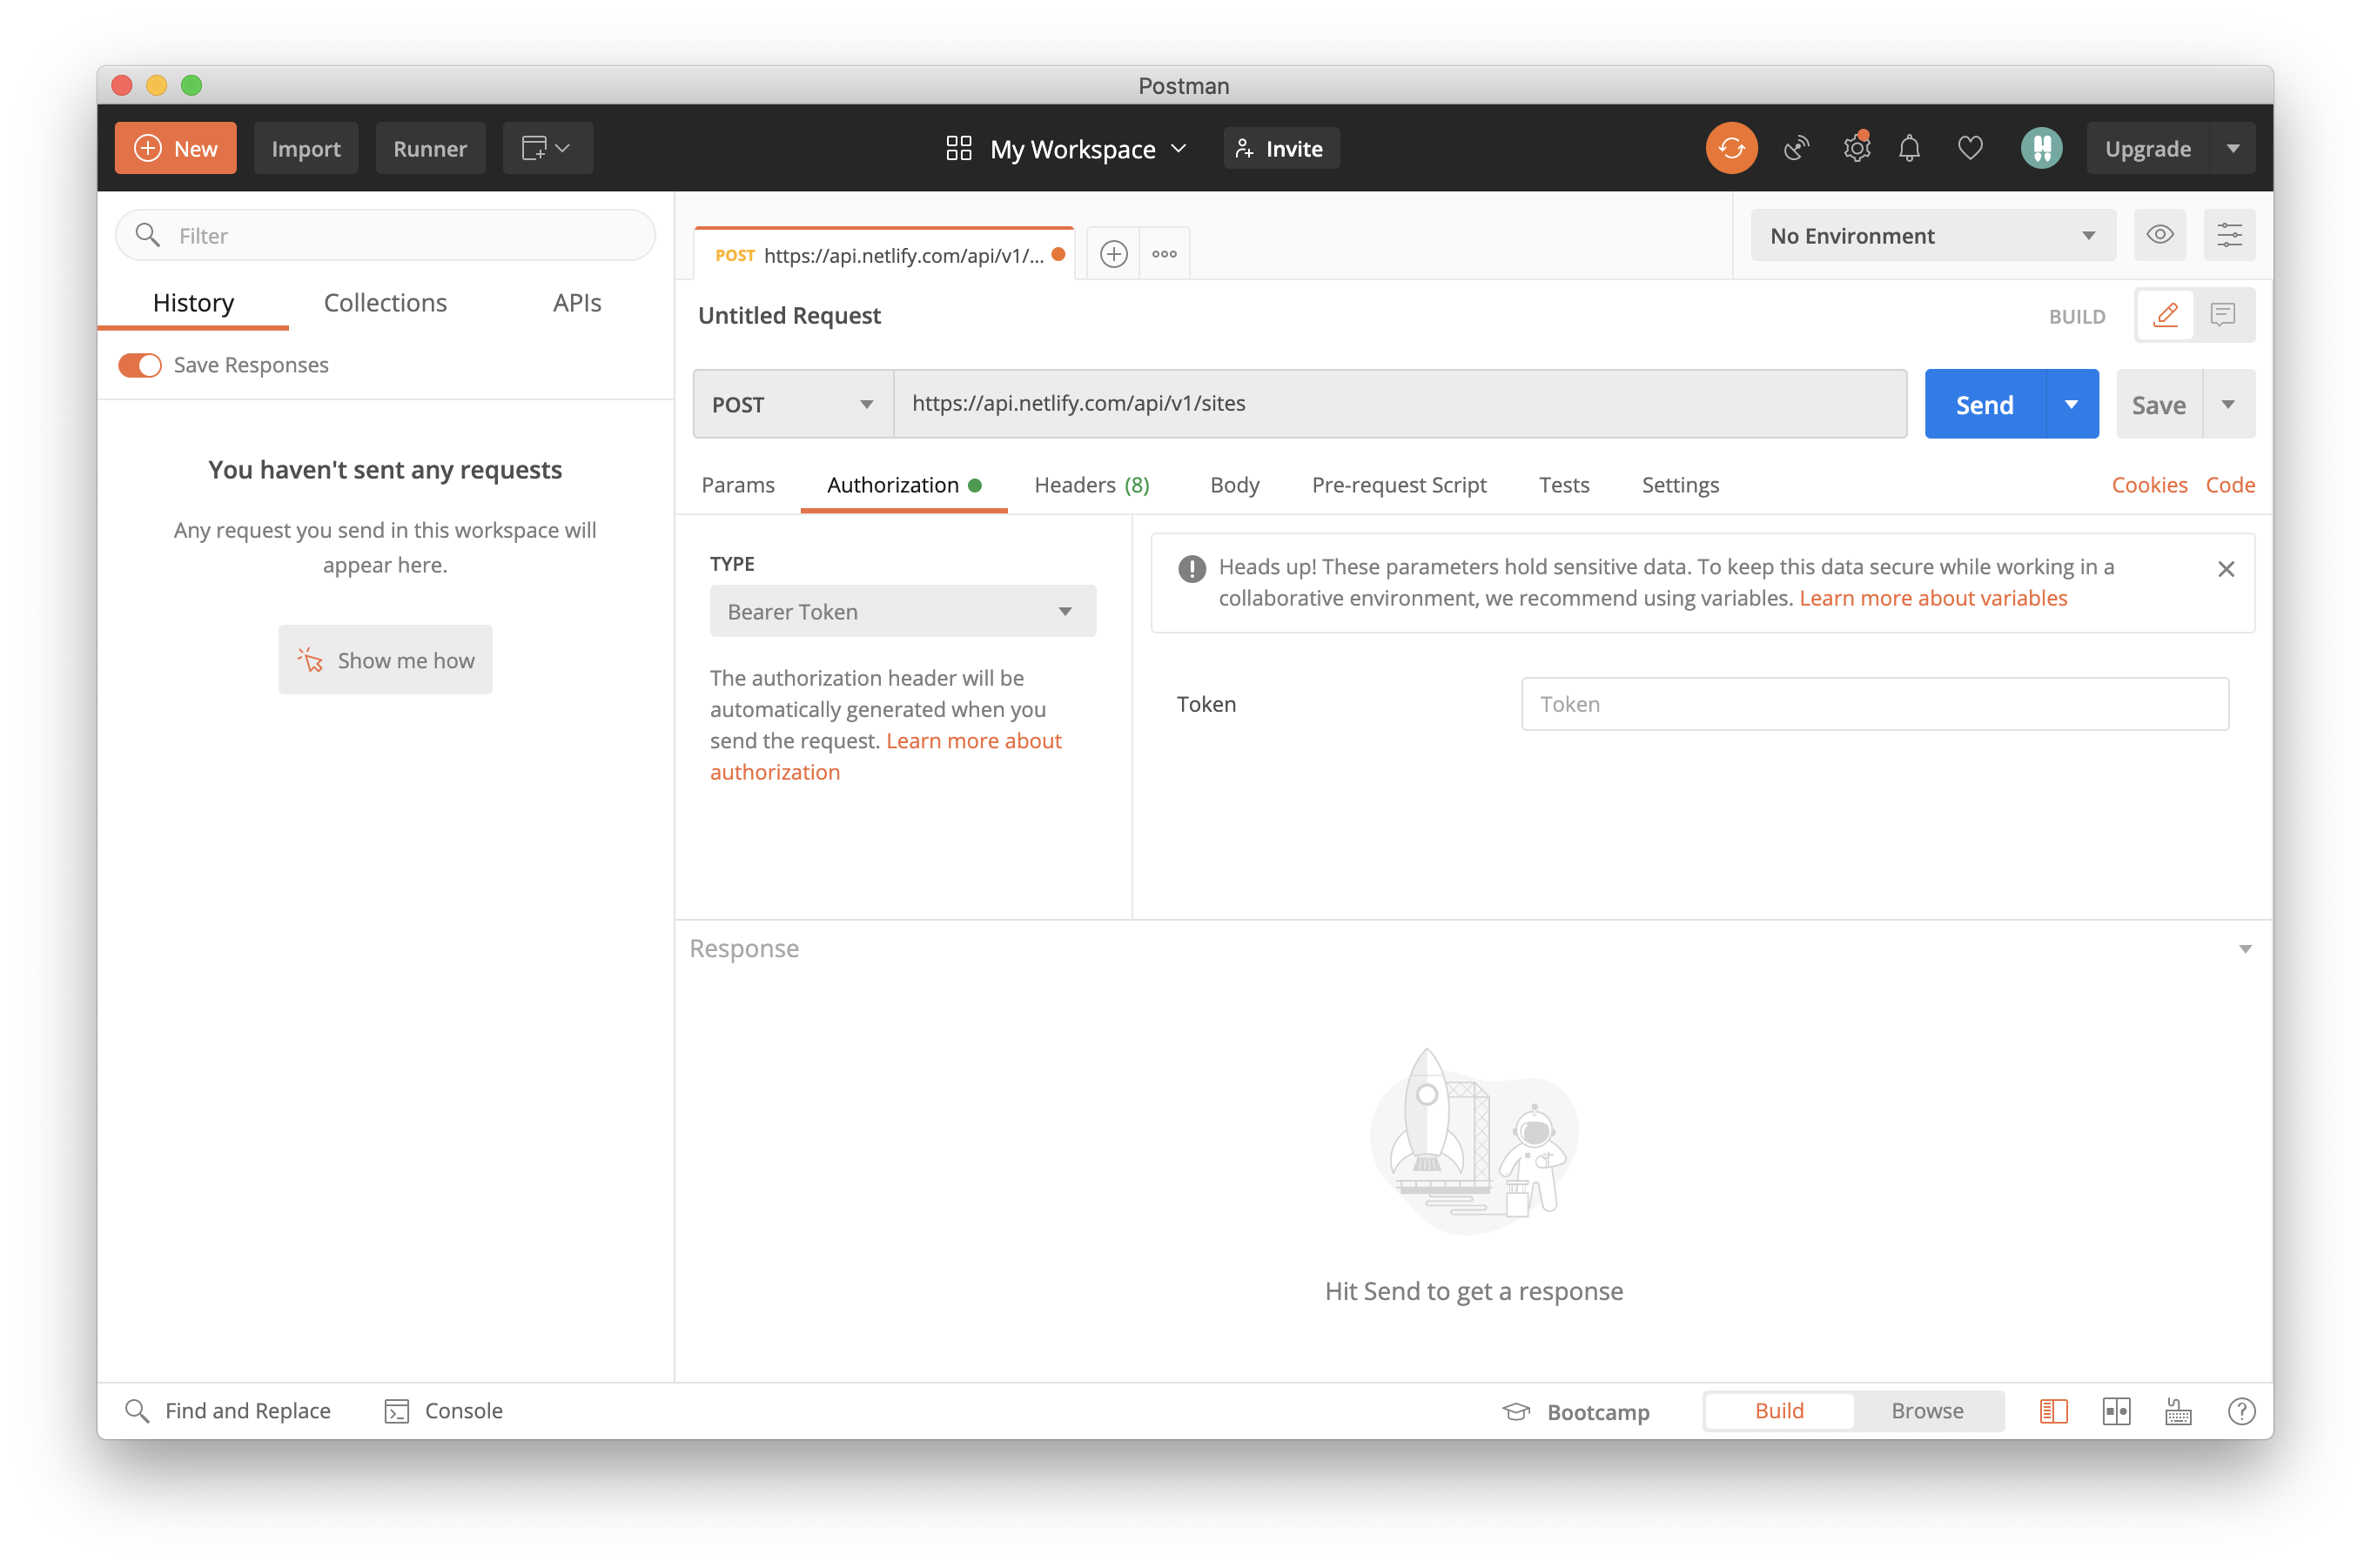
The first step is to enter your personal access token in the “Authorization” tab, type “Bearer Token”.
Create a site
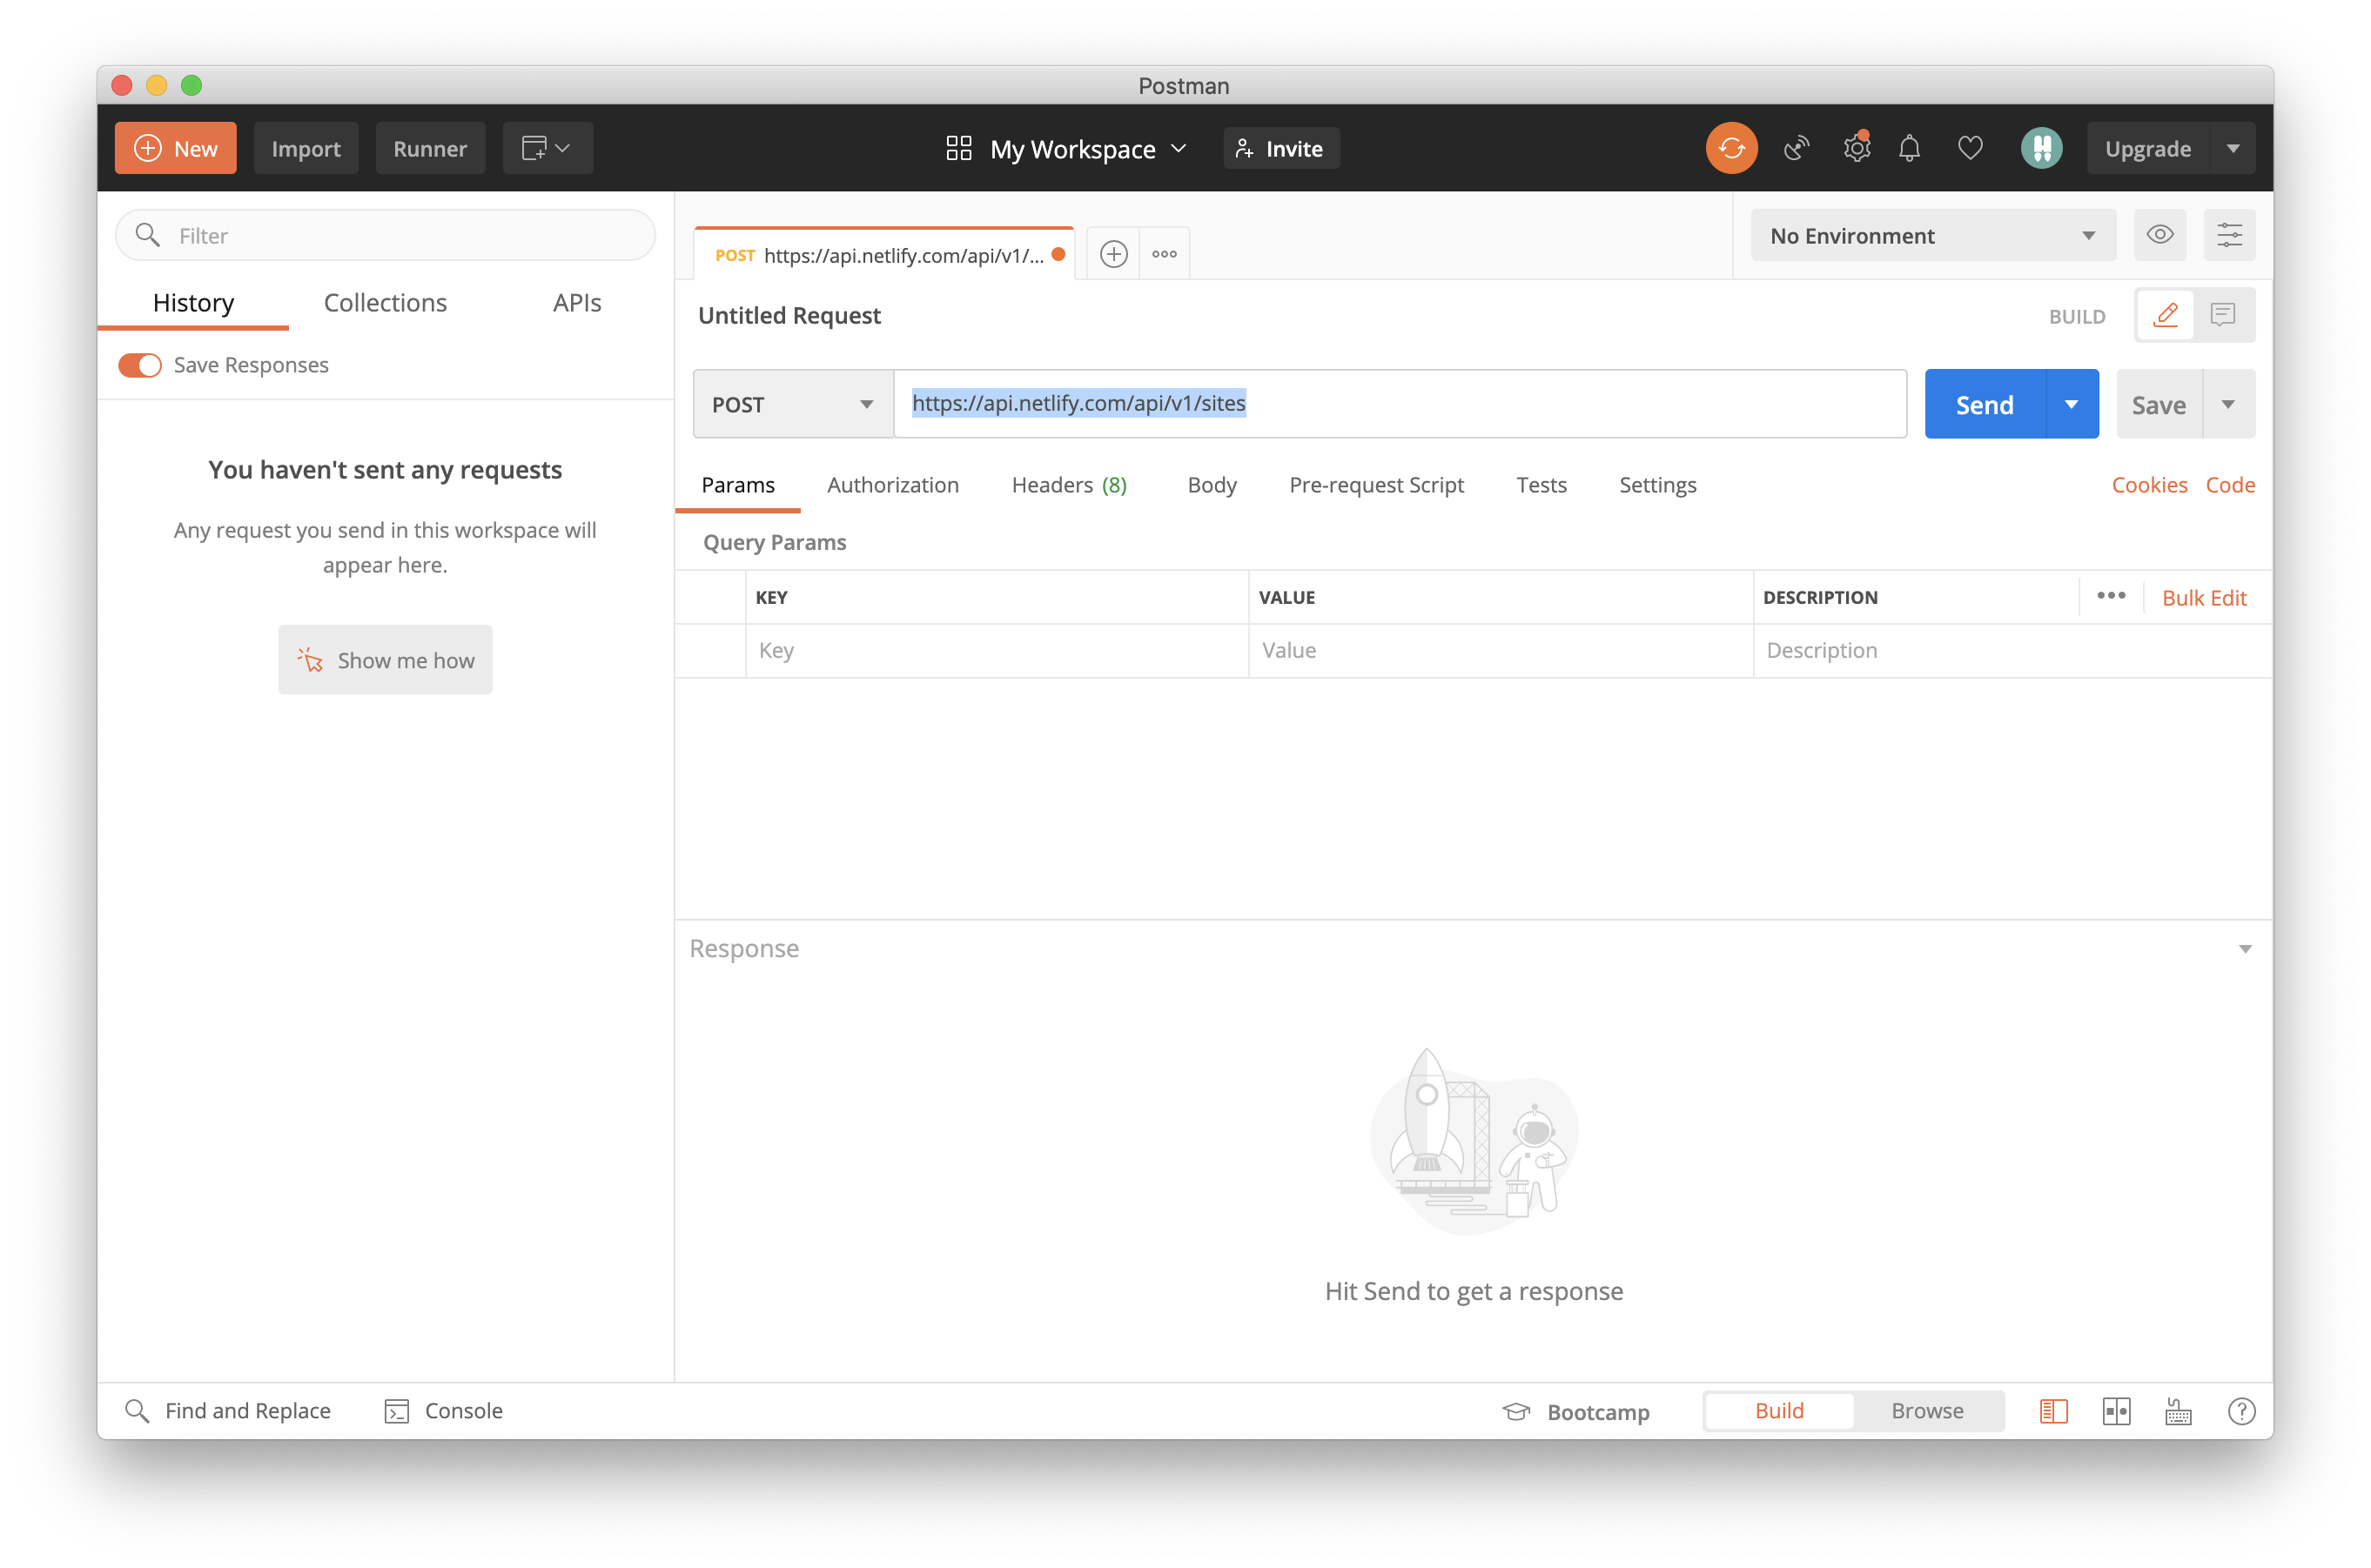
The first request we need to make is a POST with an empty body to https://api.netlify.com/api/v1/sites.
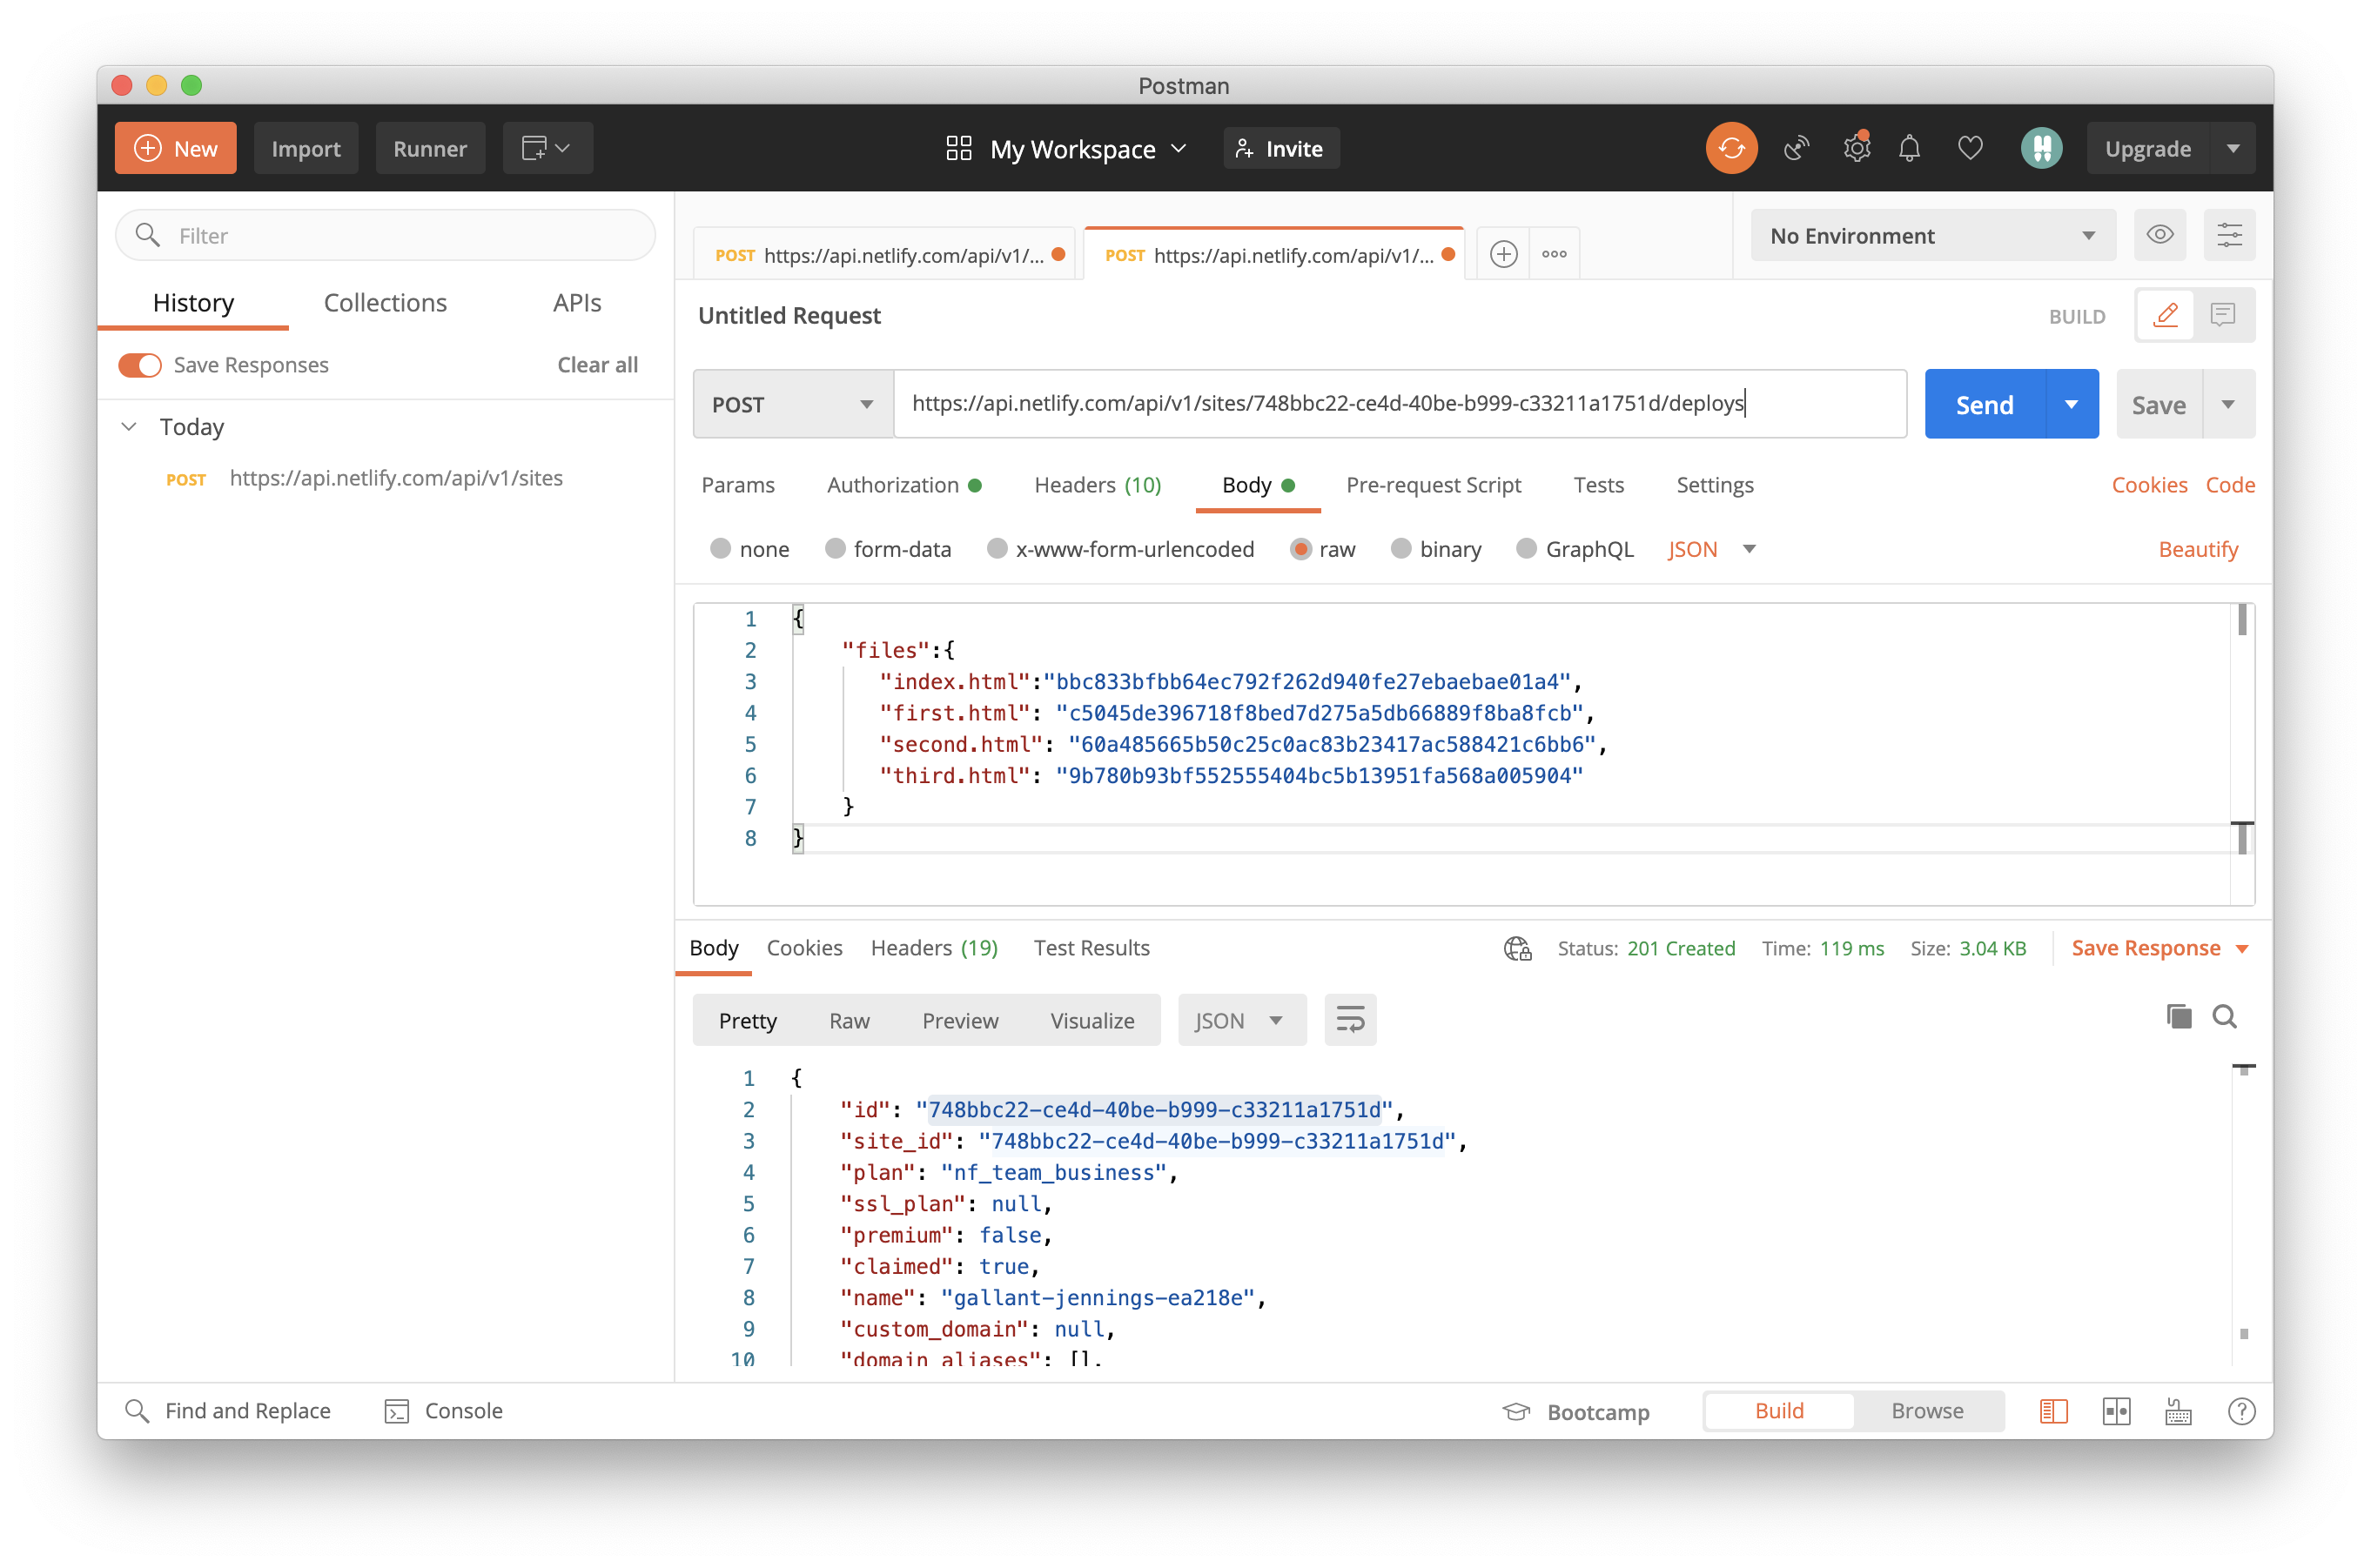
When you POST, you should get a response back that includes a site ID we can use to create a deploy:
{
    "id": "748bbc22-ce4d-40be-b999-c33211a1751d",
    "site_id": "748bbc22-ce4d-40be-b999-c33211a1751d",
    "plan": "nf_team_business",
    "ssl_plan": null,
    "premium": false,
    "claimed": true,
    "name": "gallant-jennings-ea218e",
    ...
Create a deploy by sending the list of files that will be included
Grab that id and use it to construct the URL for the next request: https://api.netlify.com/api/v1/sites/:site_id/deploys. In this case, our URL will be: https://api.netlify.com/api/v1/sites/748bbc22-ce4d-40be-b999-c33211a1751d/deploys. This will be a POST where the body is the list of the files that will be included in the deploy. This is where our shasums come in.
{
    "files":{
       "index.html":"bbc833bfbb64ec792f262d940fe27ebaebae01a4",
       "first.html": "c5045de396718f8bed7d275a5db66889f8ba8fcb",
       "second.html": "60a485665b50c25c0ac83b23417ac588421c6bb6",
       "third.html": "9b780b93bf552555404bc5b13951fa568a005904"
    }
}
Upload the files to the deploy
The response to your last request will return a deploy ID, an array of the shasums you included in your list, and some other information about the deploy:
{
    "id": "5f5908619fbfdd7121fe0493",
    "site_id": "748bbc22-ce4d-40be-b999-c33211a1751d",
    "build_id": null,
    "state": "uploading",
    "name": "gallant-jennings-ea218e",
    "url": "http://gallant-jennings-ea218e.netlify.app",
...
    "required": [
        "bbc833bfbb64ec792f262d940fe27ebaebae01a4",
        "c5045de396718f8bed7d275a5db66889f8ba8fcb",
        "60a485665b50c25c0ac83b23417ac588421c6bb6",
        "9b780b93bf552555404bc5b13951fa568a005904"
    ],
At this point, the deploy is waiting for us to upload the files we said would be included. This technique ensures the integrity of your site; Netlify will only deploy your site once all of the expected files have arrived intact.
We’ll upload one file at a time with a PUT request to https://api.netlify.com/api/v1/deploys/:deploy_id/files/:file_name, using the deploy ID from the last step and the file name we’re including in the deploy. In this case, we are including the file index.html. The request body in this case will be the file itself and the content-type header will be application/octet-stream. The full URL will be: https://api.netlify.com/api/v1/deploys/5f5908619fbfdd7121fe0493/files/index.html.
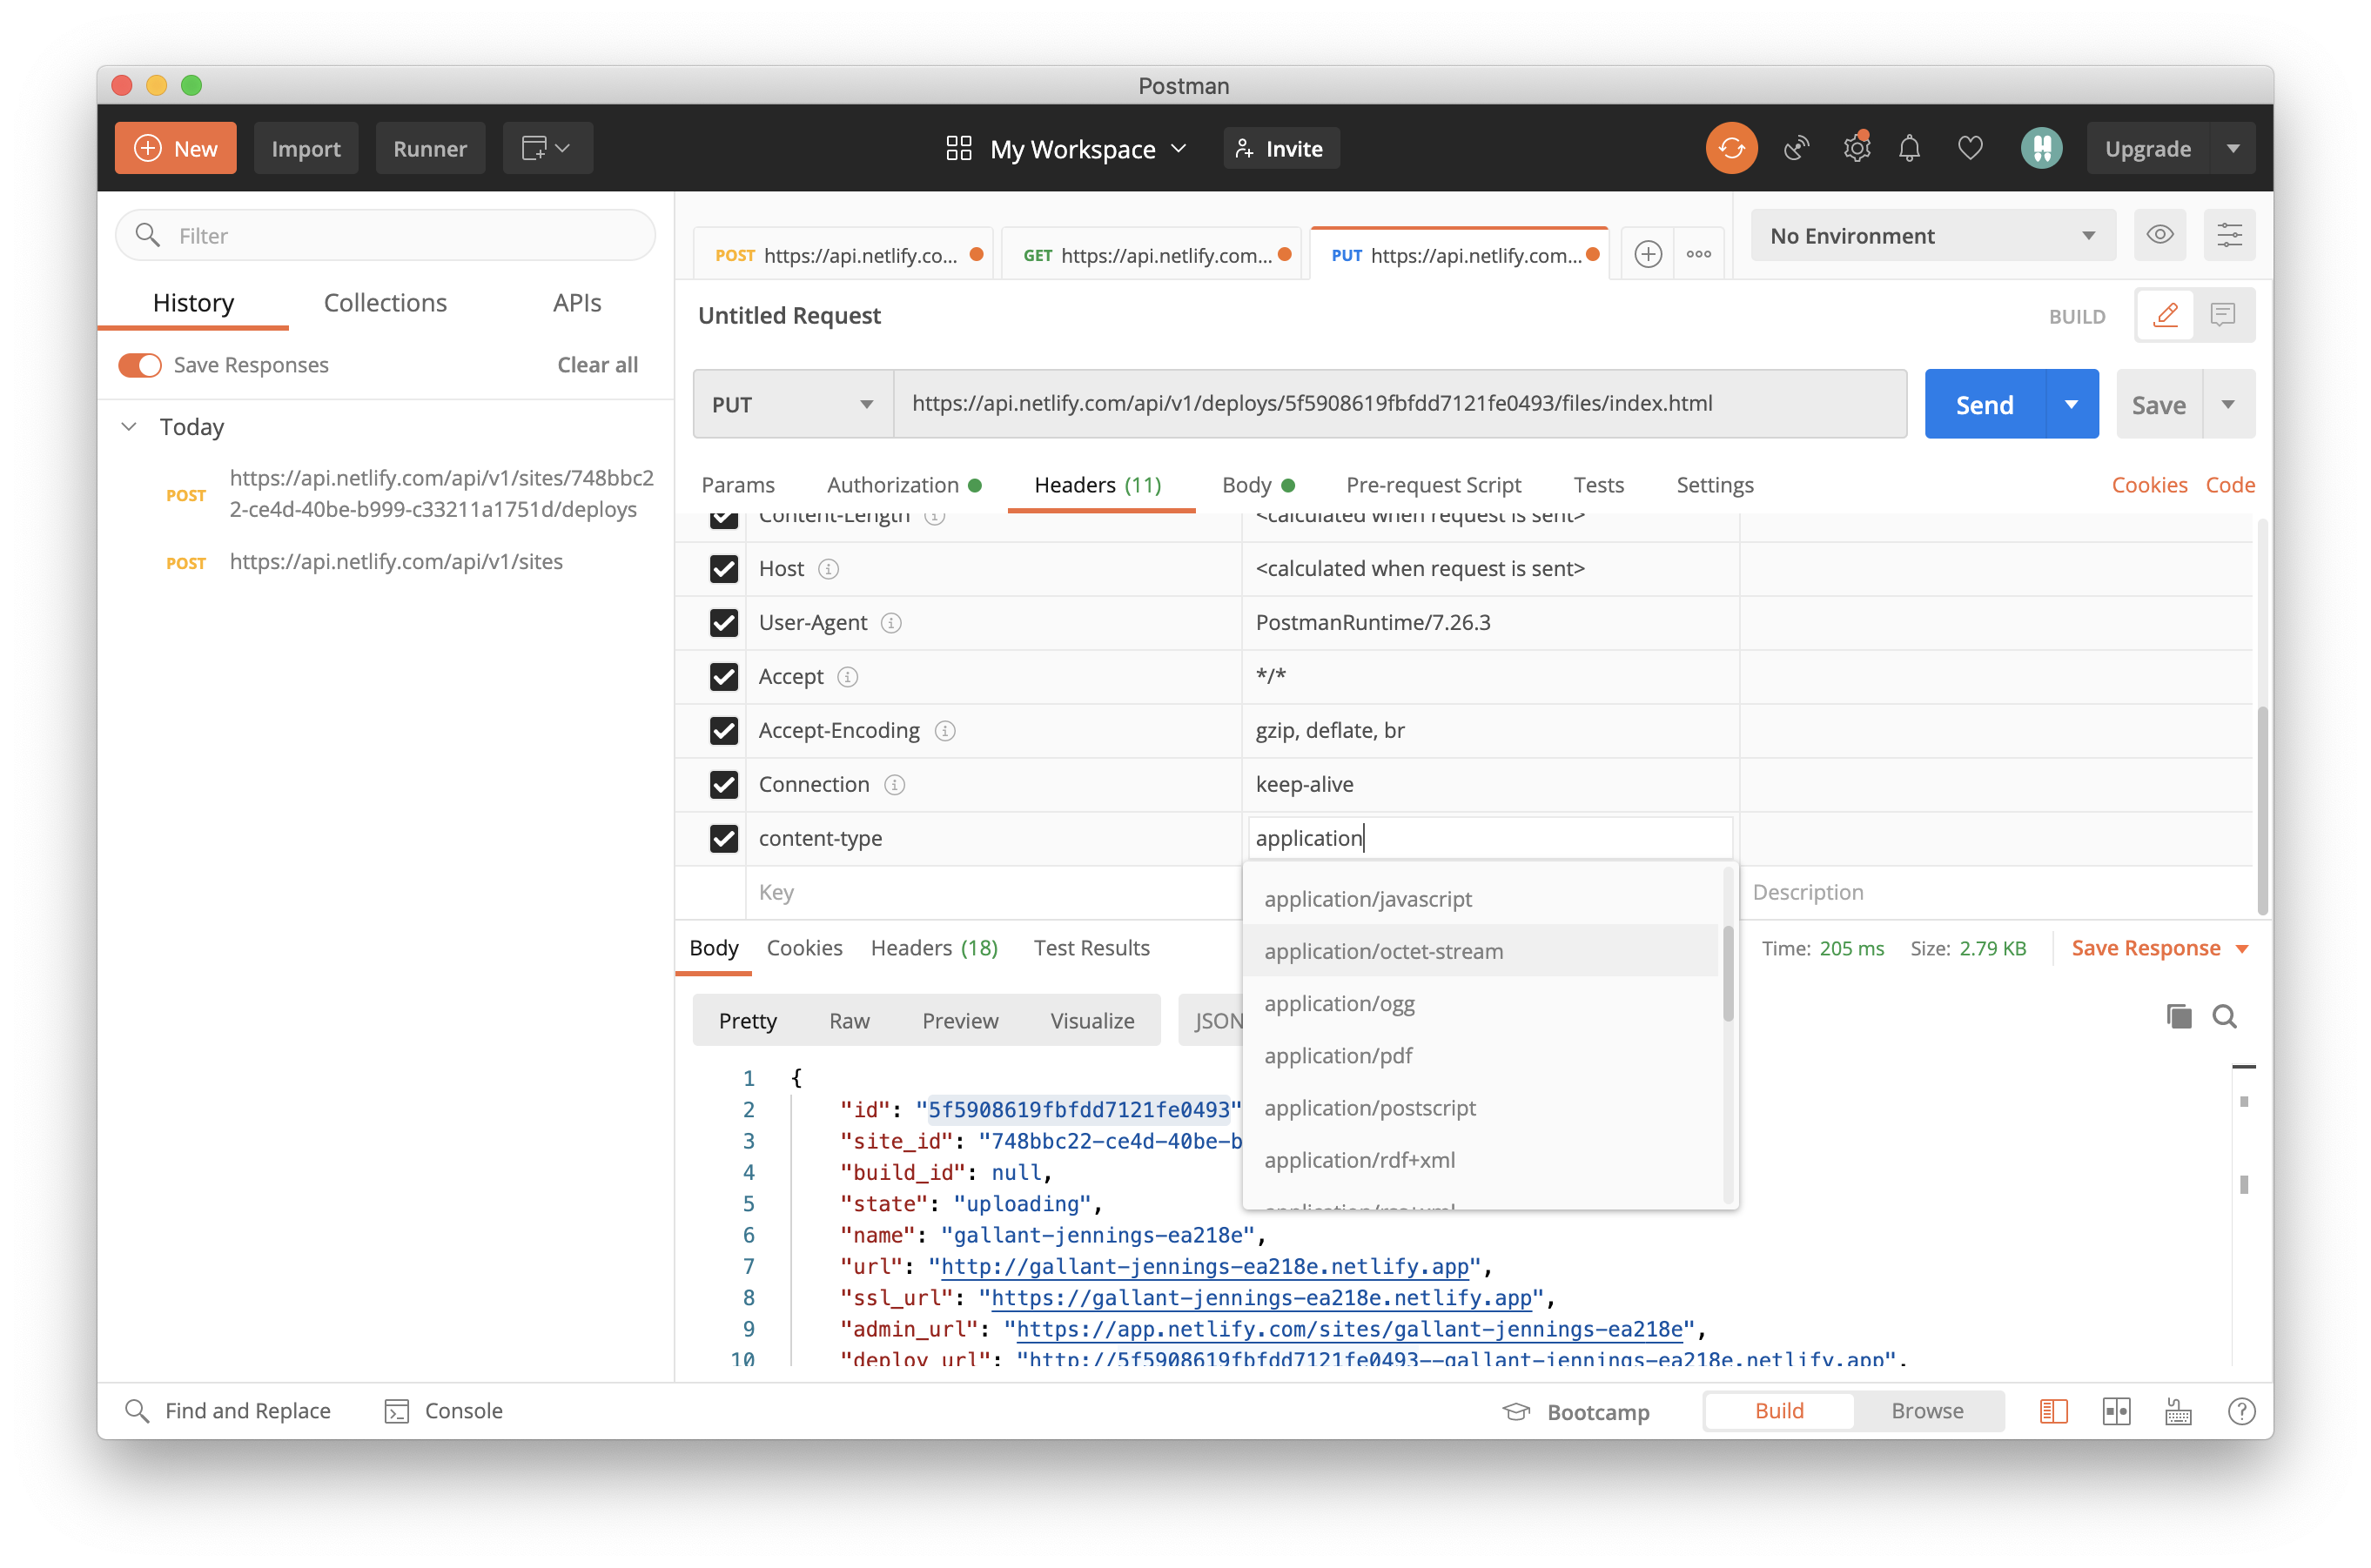
The response from this PUT request will include some information about the file Netlify received:
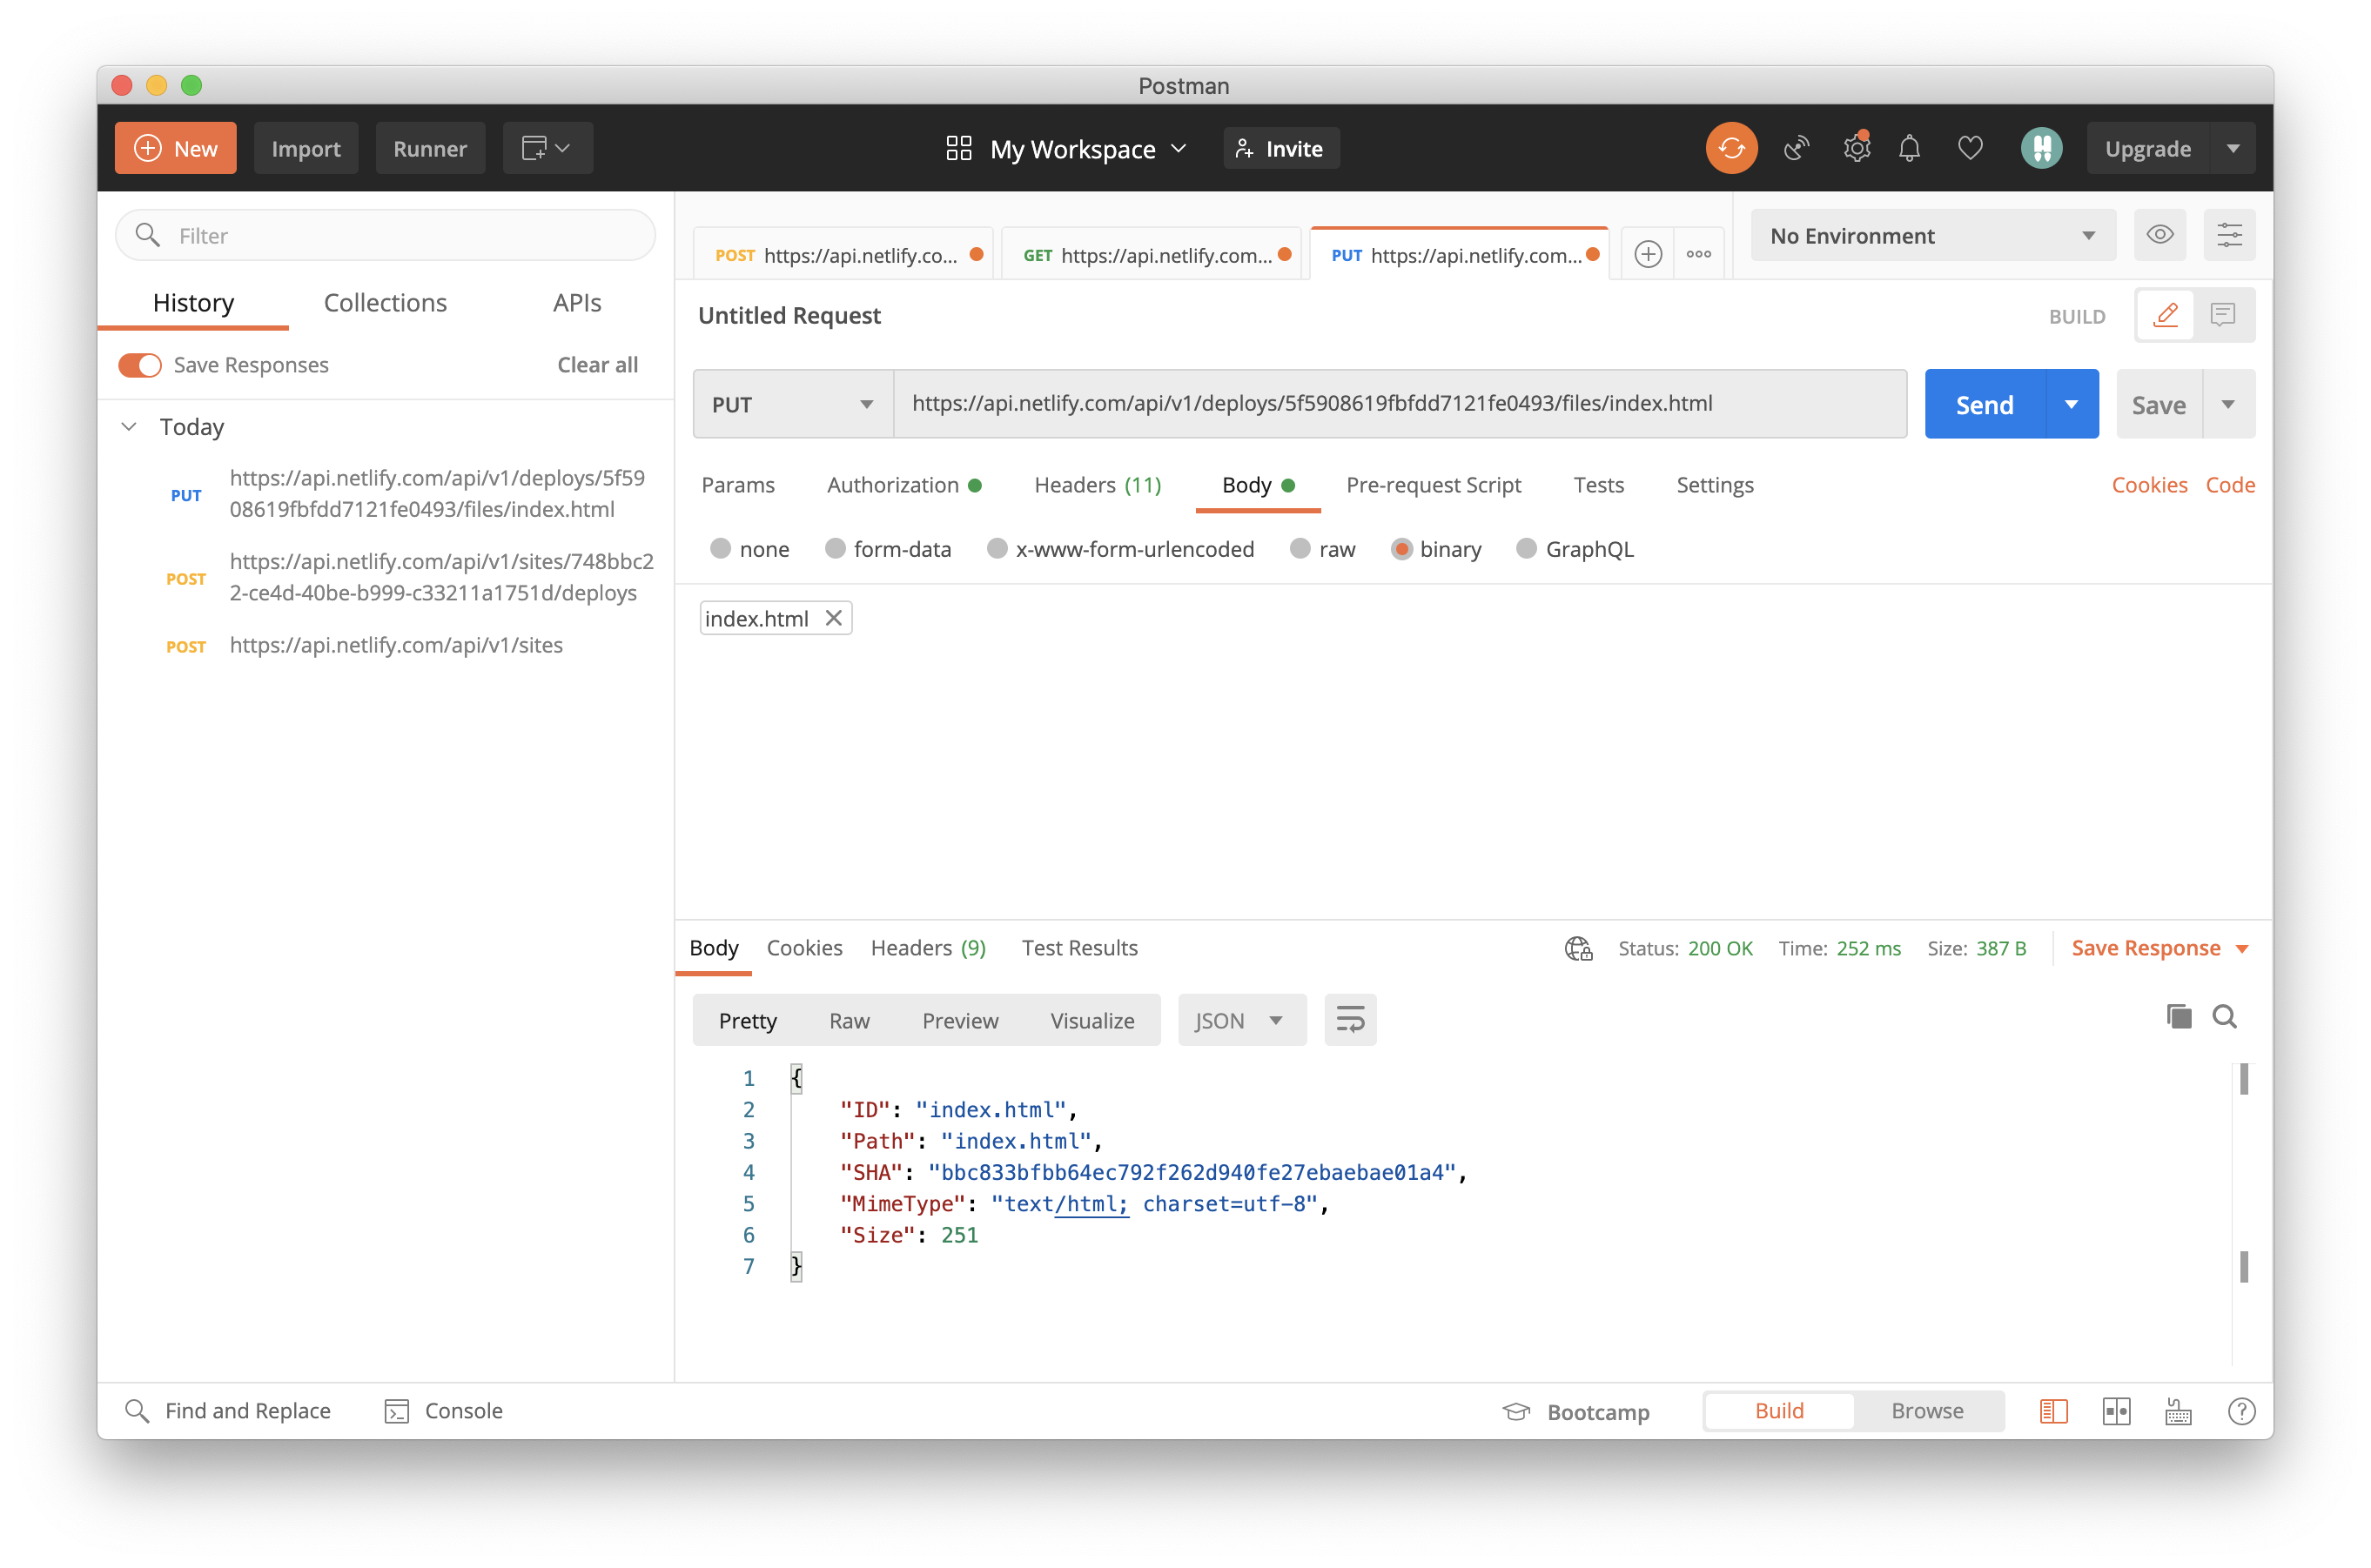
We’ll repeat the PUT request for every other file in the file digest: first.html, second.html, and third.html. Once every file in the digest has been received by Netlify, your deploy is complete!
The site dashboard will show that the site has been deployed 🎉
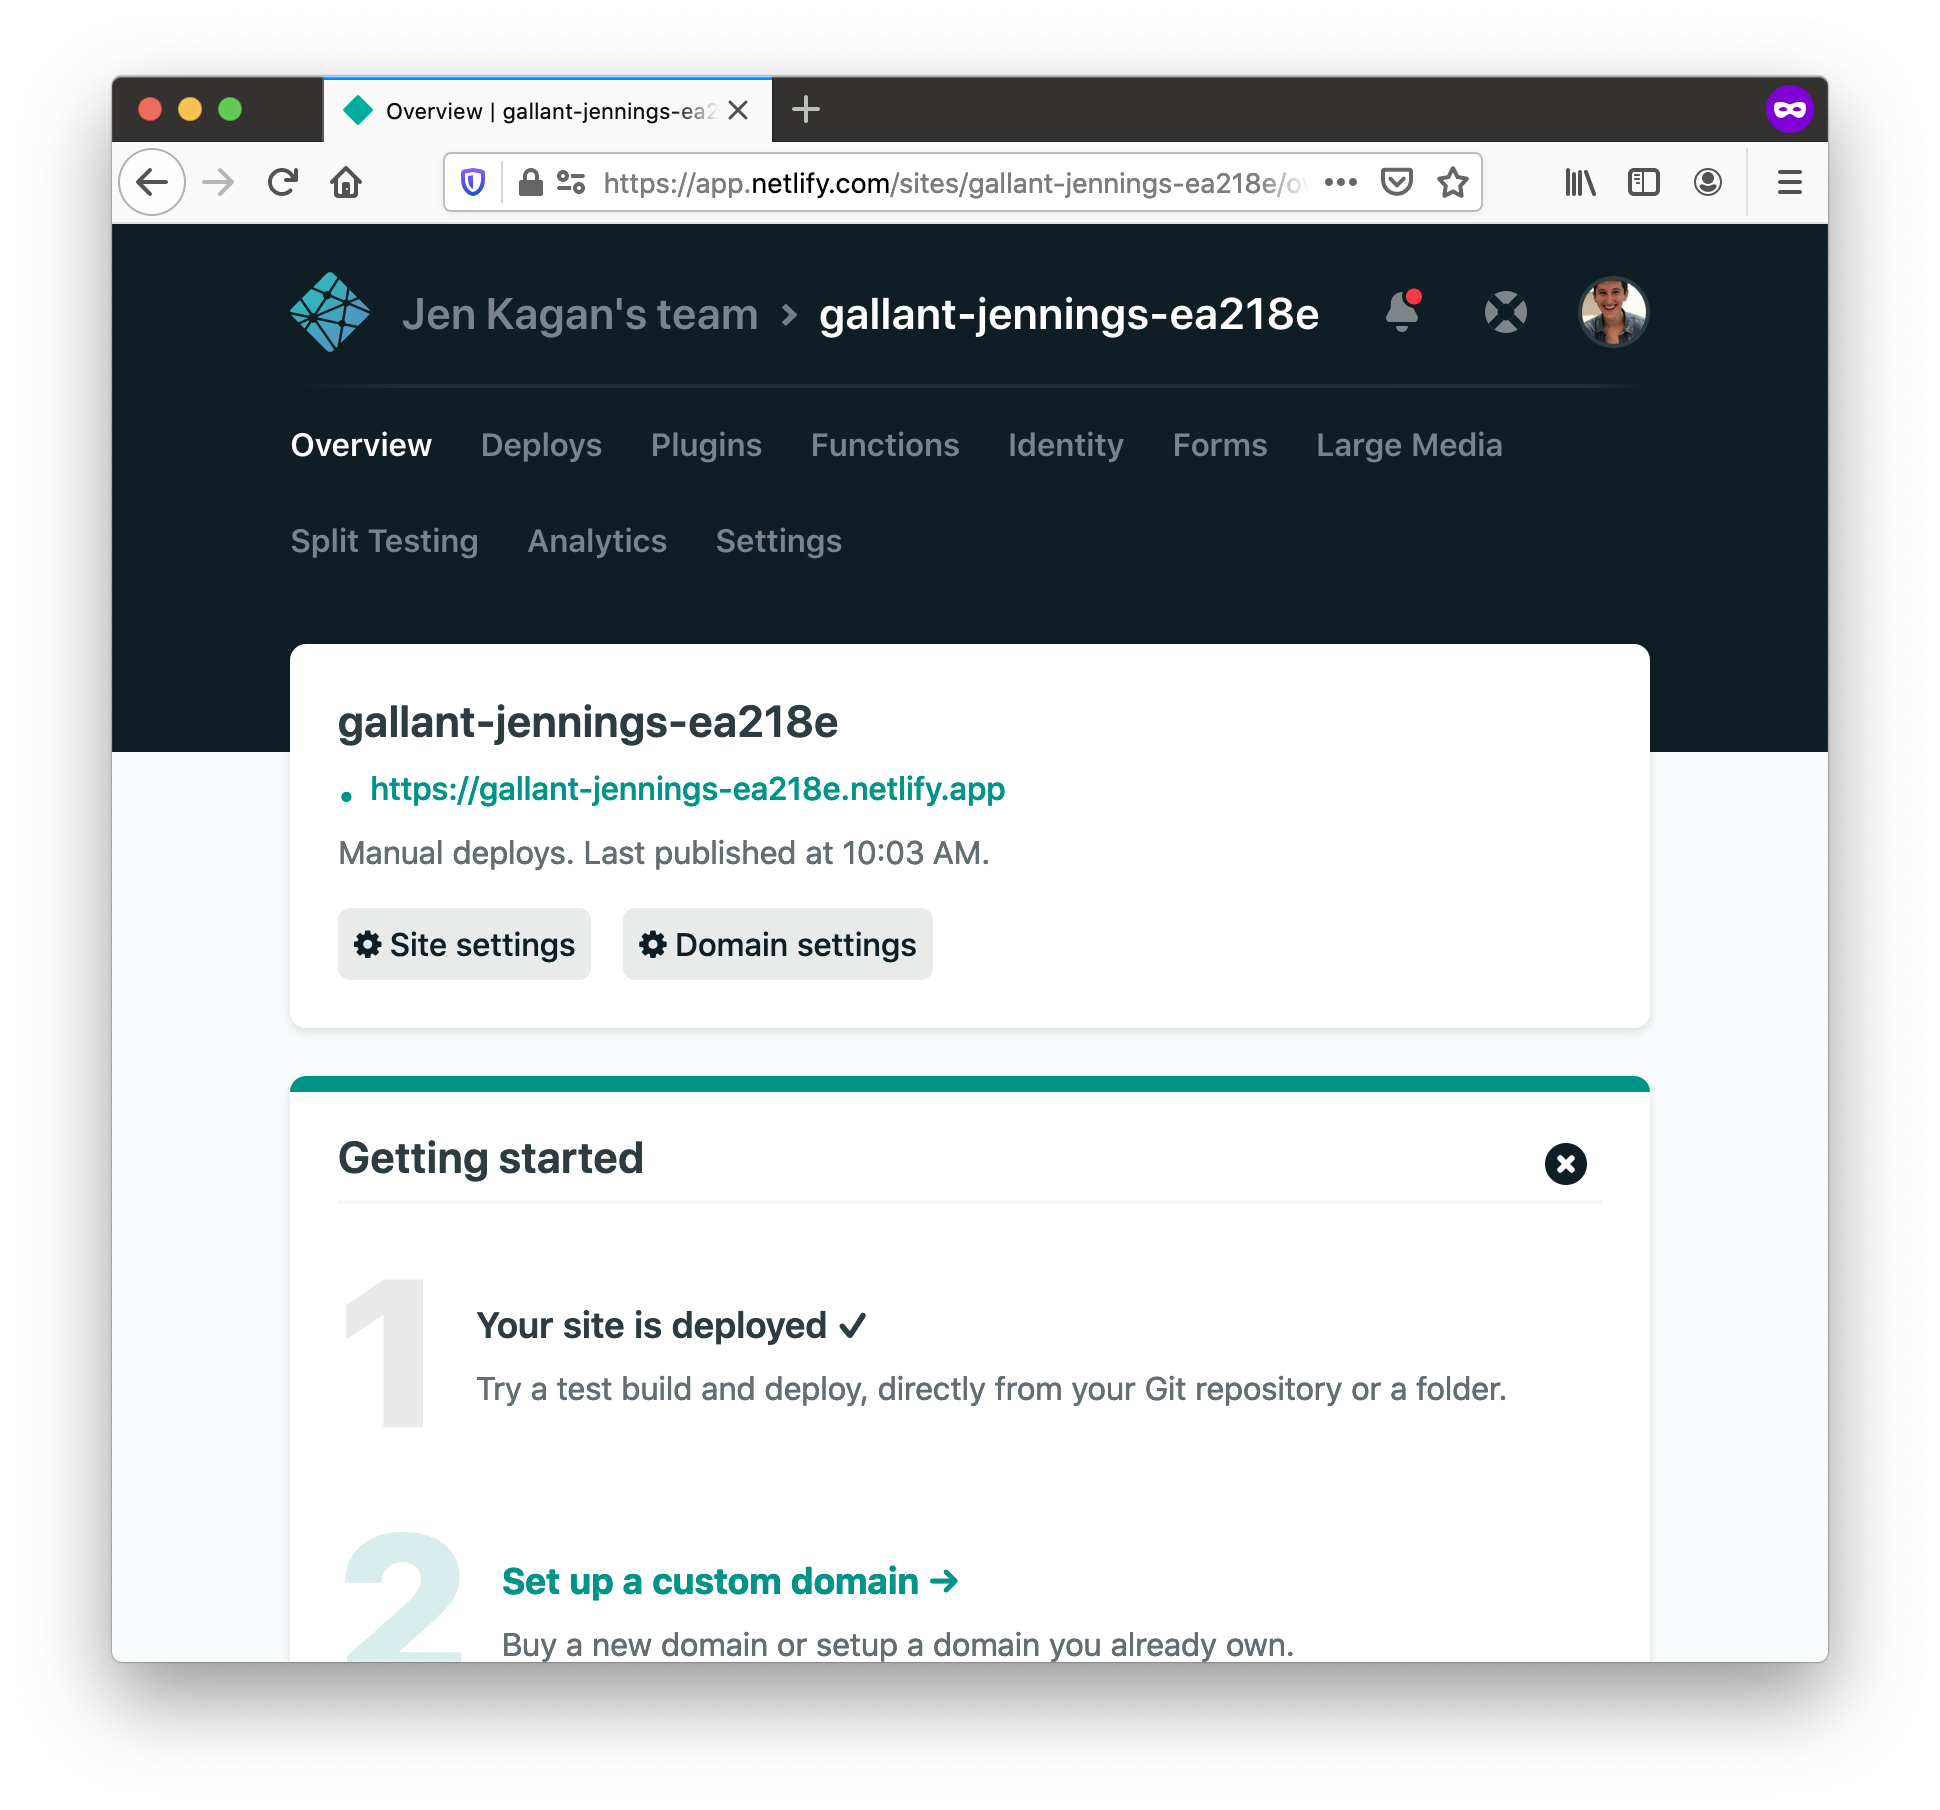
You did it!
Congrats on deploying a site using the Netlify API.
Many thanks to @garrettbland’s prior art on this topic in our community forum. Feel free to chime in over there or ask us for help if you get stuck.
And don’t forget all of the other deployment workflows you can try with Netlify.


